Oh my gosh, have you ever had one of those nights where you just NEED a burger? Like, right now? That was me last Tuesday. I was starving, my fridge was looking sad, and then – bam! – I remembered my secret weapon: smash burgers. These crispy-edged, juicy little miracles take less than 15 minutes from fridge to plate. No fancy equipment, no complicated steps – just beef, heat, and a little bit of muscle. The first time I made them, I couldn’t believe how restaurant-quality they tasted from my own kitchen. Now they’re my go-to when I want something fast, delicious, and totally satisfying. Trust me, once you try making smash burgers at home, you’ll never look at drive-thrus the same way again.
Why You’ll Love These Smash Burgers
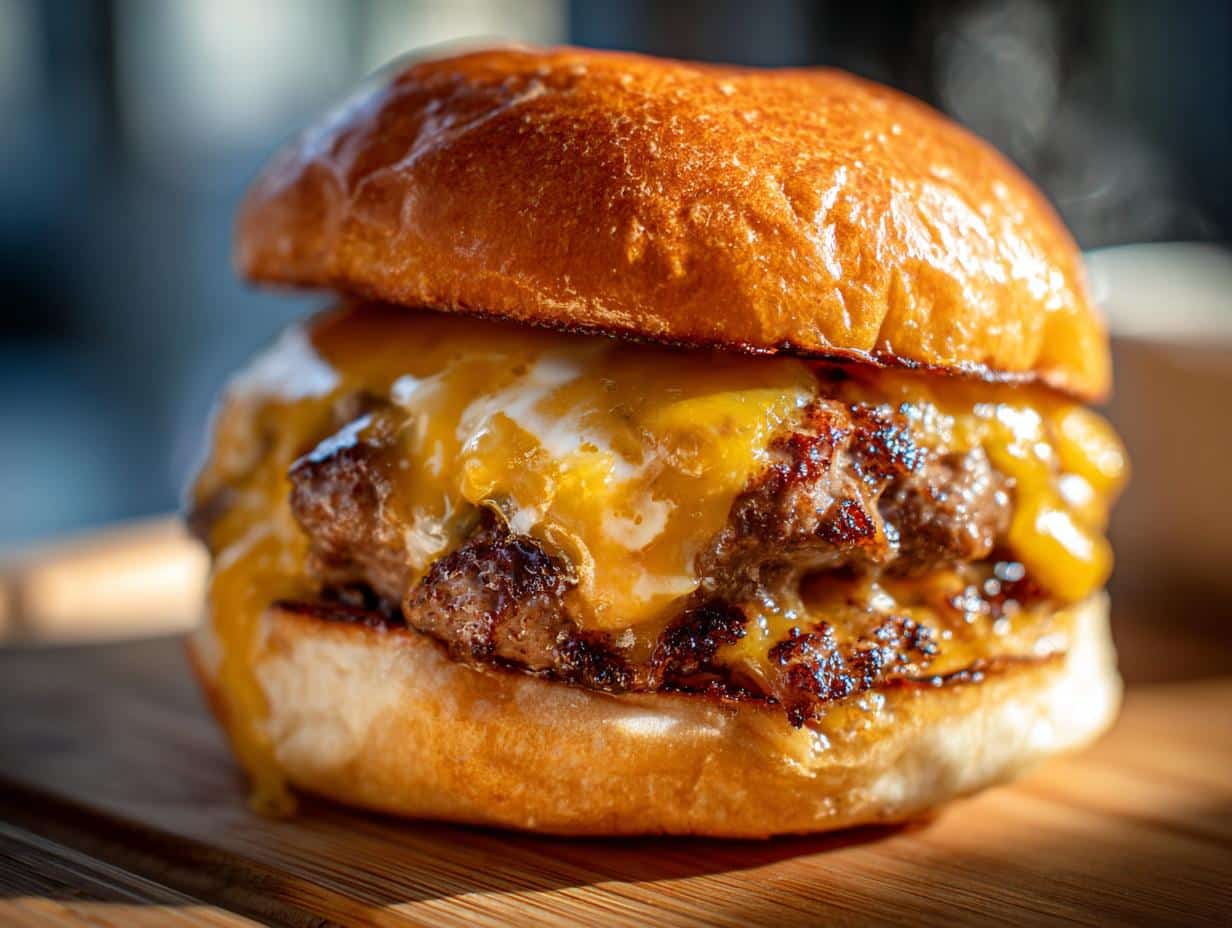
Let me tell you why these smash burgers are about to become your new weeknight hero. First off, they’re ridiculously juicy—that 80/20 beef blend means every bite is packed with flavor and just the right amount of fat to keep things moist. Then there’s the crispy, lacy edges you get from smashing them thin—that crunch is pure magic against the soft bun.
But here’s the real kicker: they’re stupidly easy. No shaping perfect patties, no flipping a million times—just smash, sear, and melt. From raw meat to melty-cheese perfection in under 10 minutes, even when you’re hangry and impatient (we’ve all been there).
Oh! And cleanup? A breeze. One skillet, one spatula, done. No grill to fire up, no fancy gadgets—just old-school, no-nonsense burger greatness. My kids go nuts for these, my husband thinks I’m a genius when I make them, and honestly? I feel like one when I pull it off in record time.
Ingredients for Smash Burgers
Alright, let’s talk ingredients – and I mean the bare minimum you need to make magic happen. Here’s what you’ll grab:
- 1 lb ground beef (80/20 blend) – This is non-negotiable, folks
- 1 tsp salt – Just regular table salt does the trick
- 1/2 tsp black pepper – Freshly cracked if you’re fancy
- 4 slices American cheese – The classic melty choice
- 4 burger buns – Potato buns are my personal MVP
- 1 tbsp vegetable oil – For that perfect sear
That’s it! No eggs, no breadcrumbs, no fancy spices – just straight-up burger goodness. I keep all these basics stocked because you never know when a smash burger craving will strike.
Ingredient Notes & Substitutions
Now let me tell you why these ingredients matter:
The 80/20 beef blend (that’s 80% lean, 20% fat) is your best friend here. Leaner blends will dry out when smashed thin, and fattier blends can get too greasy. This ratio gives you that perfect juicy-crispy balance.
Cheese options? American melts like a dream, but cheddar or pepper jack work if you want more flavor. Just avoid pre-shredded – it won’t melt properly.
Bun pro tip: Potato buns hold up to juicy burgers without getting soggy, but brioche is delicious if you don’t mind a bit more mess. No buns? Use toast or even lettuce wraps in a pinch.
And that vegetable oil? It’s just to prevent sticking – canola or avocado oil work too. Just don’t use olive oil – it smokes at the high heat we need for that perfect crust. Avocado oil is a great alternative for high-heat cooking.
Equipment Needed for Smash Burgers
Here’s the beautiful thing about smash burgers – you don’t need any fancy gadgets. Just grab these three essential tools from your kitchen and you’re golden:
- A heavy skillet or griddle – Cast iron is my ride-or-die for that perfect sear, but any thick-bottomed pan will work. You want something that holds heat like a champ.
- A sturdy metal spatula – Plastic will bend on you when you’re putting your weight into smashing. I’ve had my trusty metal one for years – it’s practically indestructible.
- Measuring spoons – Okay fine, you can eyeball the salt and pepper if you’re feeling wild. But I like to measure for consistent seasoning every time.
That’s seriously it! No burger presses, no special tools – just good old-fashioned kitchen basics. Though I will admit, after making these weekly for months, I did treat myself to a cast iron griddle that lives permanently on my stovetop. But that’s just because I’m extra.
Pro tip: If your spatula doesn’t have a sharp edge, use the back of another metal spoon to help scrape up those beautifully caramelized bits when flipping. Those crispy edges are pure gold!

How to Make Smash Burgers
Okay friends, here’s where the magic happens! Making smash burgers is more art than science, but I’ve learned a few tricks along the way to make sure yours turn out perfect every single time. Follow these steps and you’ll be biting into burger heaven before you know it.
Step 1: Shape the Beef
First things first – don’t overwork that beautiful ground beef! I gently divide my 1 lb package into 4 equal portions (about 4 oz each if you’re weighing). Then I loosely roll them into balls – think golf ball size but rougher around the edges.
Here’s my secret: don’t compact them. Just barely hold them together so they’ll smash easily later. I like to make them slightly taller than wide – this helps when pressing. And pro tip: make them uniform so they cook evenly. Nothing worse than one burger done while others are still raw!
Step 2: Smash and Sear
Now for the fun part! Get your skillet screaming hot – I’m talking medium-high to high heat. Add that tbsp of oil and let it shimmer. Place a beef ball in the pan and immediately grab your spatula.
This is your moment – press down HARD with conviction! I use my other hand to really put weight on the spatula and smash that ball into submission. You want it thin – like 1/4 inch thin. Hold it for a good 10 seconds to get maximum contact with the pan.
Sprinkle with salt and pepper immediately after smashing. Now don’t touch it! Let it cook for 2 minutes exactly – that’s how you get those gorgeous crispy edges. You’ll see the edges browning and curling – that’s when you know it’s working.
Step 3: Melt the Cheese
Flip time! Slide your spatula under carefully to keep all that crust intact. Now here’s the move: immediately place your cheese slice on top. The residual heat from the freshly flipped side will start melting it right away.
Cook for just 1-2 minutes more – you want the cheese gloriously melted but not overcooked. I like to cover the pan briefly to speed up melting if my cheese is being stubborn. When the edges look crispy golden and the cheese is gooey perfection, slide that beauty onto your waiting bun.
Repeat the process with your remaining balls (don’t crowd the pan – do two at a time max!) and boom – you’ve just made restaurant-quality burgers in your own kitchen. High five!

Tips for Perfect Smash Burgers
After making probably hundreds of smash burgers (no shame), I’ve learned all the little tricks that take them from good to “oh my god I need another one.” Here are my hard-earned secrets:
Don’t overcrowd your skillet – this is burger-making, not a mosh pit! Two patties max in a standard 12-inch pan. You need space to smash properly and for steam to escape so you get that crispy crust. More than that and they’ll steam instead of sear.
Let your meat chill for 5 minutes before shaping if you have time. Cold beef sticks less and holds its shape better when smashing. But hey, if you’re starving right now? Just go for it – they’ll still taste amazing.
Here’s one most people miss: wipe your spatula between smashes. Little bits of cooked beef stuck to it can make your next burger stick. A quick paper towel swipe keeps everything gliding smoothly.
My biggest rookie mistake? Not pressing hard enough. You really gotta commit to that smash! If you’re nervous about sticking, try placing a piece of parchment paper over the ball before pressing – it peels right off after.
And for crispy edge perfection: resist the urge to peek during those first 2 minutes. That crust needs uninterrupted contact with the hot pan. Lift too early and you’ll lose all those beautiful browned bits.
Last pro tip: warm your buns in the pan after cooking the burgers. Just 30 seconds per side makes them toasty without drying out. Game changer!
Serving Suggestions for Smash Burgers
Now let’s talk about turning these glorious smash burgers into a full meal! The beauty here is keeping things simple – you don’t want sides that’ll steal the spotlight from your crispy-edged masterpiece. Here’s what I’ve found works best:
Classic diner-style is always a win: just grab some dill pickle chips (the crunch contrasts perfectly with the juicy burger) and a handful of potato chips. My grocery store’s deli section has these amazing ridged pickle chips that are basically made for burger nights.
If you’re feeling fancy, homemade fries are worth the extra effort. I do a quick version where I microwave potato wedges for 3 minutes first, then finish them in the air fryer. They come out crispy outside, fluffy inside – just like the burgers! For a great side, check out this garlic parmesan potatoes recipe.
For something fresh, a simple iceberg lettuce salad with ranch dressing hits the spot. Or try my lazy summer favorite: sliced tomatoes with just salt and pepper. The acidity cuts through the richness of the beef beautifully.
And let’s not forget the beverage pairings! An ice-cold soda is classic, but I’m partial to a frosty beer with mine. My husband swears a chocolate milkshake is the ultimate pairing – though I think that might just be his inner five-year-old talking.
Pro tip: Put out small bowls of toppings so everyone can customize. I always have thinly sliced red onion, pickles, ketchup, mustard, and mayo on the table. Sometimes I’ll sneak in some caramelized onions if I’m feeling extra.
Remember – the star of the show is that glorious smash burger. Keep sides simple and let that crispy, juicy perfection shine!
Storage & Reheating
Okay, let’s be real – these smash burgers are best eaten fresh, piping hot off the griddle. But life happens, and sometimes you’ve gotta stash leftovers (or get ahead for tomorrow’s lunch). Here’s how to keep them tasting amazing:
For uncooked patties: Loosely wrap those beef balls in plastic wrap and refrigerate for up to 24 hours. Any longer and they’ll start losing moisture. Freezing? Not ideal for smash burgers since the texture changes, but in a pinch, freeze the balls on a tray first, then bag them – they’ll keep about 2 weeks.
Cooked burgers? Store patties and buns separately – nothing sadder than a soggy bun! Cool the patties completely, then tuck them in an airtight container with parchment between layers. They’ll last 3 days in the fridge – but good luck resisting them that long!
Now, the magic revival method: Reheat those patties in a dry skillet over medium heat – no oil needed! The residual fat will crisp them back up beautifully. Just 1-2 minutes per side until hot through. Want next-level revival? Pop a fresh slice of cheese on during the last minute – melted cheese hides a multitude of sins!
Bun revival tip: Toast them lightly in a dry pan or toaster oven – about 30 seconds per side. This brings back that fresh-baked feel and prevents mushiness.
Warning: Microwaving will ruin that perfect crust – it turns everything rubbery. Only do this if you’re absolutely desperate (we’ve all been there at 2am).
Smash Burgers Nutritional Info
Okay, let’s talk numbers – but promise me you won’t let this ruin the pure joy of biting into one of these beauties! These nutritional estimates are for one complete burger (patty + bun + cheese), and remember they’re just guidelines – your actual values might vary slightly depending on your exact ingredients.
Here’s the breakdown per burger:
- Calories: 450 (worth every single one!)
- Fat: 28g (that’s where the flavor lives)
- Saturated Fat: 12g
- Protein: 25g (not bad for something so delicious)
- Carbs: 25g
- Sodium: 800mg
Now before you panic about those numbers, remember: this isn’t an everyday meal (though I won’t judge if it becomes one). That fat content? That’s what gives you those incredible crispy edges and juicy interior. The protein? Well, that just means you’re getting your money’s worth from that quality beef!
Want to lighten it up? Try these easy swaps:
- Use low-fat cheese slices (saves about 50 calories)
- Choose whole wheat buns (extra fiber!)
- Skip the bun entirely and go lettuce wrap style (major calorie savings)
But honestly? Sometimes you just gotta embrace the deliciousness. My philosophy? Enjoy every melty, crispy, juicy bite – then maybe take an extra walk tomorrow. Balance!
FAQ About Smash Burgers
I get questions about smash burgers ALL the time – here are the ones that pop up most often, along with my tried-and-true answers from years of burger obsession:
Can I use lean ground beef instead of 80/20?
Technically? Yes. Should you? No way! That fat is what creates the crispy crust and keeps your burger juicy when smashed super thin. With lean beef, you’ll end up with dry, tough patties that stick to your pan. Trust me – save the lean stuff for meatloaf.
How thin should I really smash the patties?
Thinner than you think! Aim for about 1/4 inch thick – thin enough to see some pan through the meat in spots. That crazy thinness is what gives you those lacy, caramelized edges. Don’t worry about making them perfect circles either – irregular edges mean more crispy bits!
Why does my burger stick to the pan when I try to flip it?
Usually means one of three things: 1) Your pan wasn’t hot enough (wait until the oil shimmers), 2) You tried flipping too soon (give it that full 2 minutes), or 3) Your spatula isn’t getting all the way under (use a sharp metal edge to scrape beneath). Pro tip: A quick wiggle test – if it slides easily, it’s ready! For more cooking science, check out resources on the science of searing meat.
Can I make smash burgers on a grill instead of a skillet?
You can, but it’s trickier! The gaps between grates make smashing difficult, and you lose that beautiful crust contact. If you must grill, use a cast iron griddle placed over the flames. Honestly though? The stovetop method is way easier and more consistent.
What’s the best cheese for smash burgers?
American cheese melts like a dream, but don’t be afraid to experiment! Sharp cheddar gives a nice tang, pepper jack adds heat, and even blue cheese can be amazing if you’re feeling fancy. Just avoid pre-shredded cheeses – the anti-caking agents prevent proper melting.
Rate This Recipe
Alright burger lovers – I’ve spilled all my smash burger secrets, now it’s your turn! Did you try this recipe? Did it give you those crispy-edged, juicy burger dreams? I want to hear all about your experience!
Leave a comment below telling me:
- What worked perfectly (brag away – I love success stories!)
- Any tweaks you made that rocked
- Questions that popped up along the way
And hey, if you snapped a pic of your burger masterpiece, I’d LOVE to see it! Nothing makes me happier than seeing those golden-brown edges and melty cheese action.
Your feedback helps me (and fellow burger enthusiasts) keep improving these recipes. Plus, let’s be real – who doesn’t love gushing about amazing food? Can’t wait to hear your burger adventures!
Print
3 Perfect Smash Burgers Secrets for Crispy Juicy Bliss
- Total Time: 15 mins
- Yield: 4 burgers 1x
- Diet: Low Lactose
Description
A quick and easy way to make juicy, flavorful burgers with a crispy crust.
Ingredients
- 1 lb ground beef (80/20 blend)
- 1 tsp salt
- 1/2 tsp black pepper
- 4 slices American cheese
- 4 burger buns
- 1 tbsp vegetable oil
Instructions
- Divide the ground beef into 4 equal portions and loosely shape into balls.
- Heat a skillet or griddle over high heat and add the oil.
- Place a beef ball on the skillet and press it flat with a spatula to form a thin patty.
- Sprinkle salt and pepper on top.
- Cook for 2 minutes until the edges are crispy.
- Flip the patty and immediately add a slice of cheese.
- Cook for another 1-2 minutes until the cheese melts.
- Place the patty on a bun and serve immediately.
Notes
- Use a high-fat ground beef blend for juicier burgers.
- Press the patties thin for maximum crispiness.
- Cook on high heat to get a good sear.
- Prep Time: 5 mins
- Cook Time: 10 mins
- Category: Main Course
- Method: Stovetop
- Cuisine: American
Nutrition
- Serving Size: 1 burger
- Calories: 450
- Sugar: 3g
- Sodium: 800mg
- Fat: 28g
- Saturated Fat: 12g
- Unsaturated Fat: 10g
- Trans Fat: 1g
- Carbohydrates: 25g
- Fiber: 1g
- Protein: 25g
- Cholesterol: 90mg