
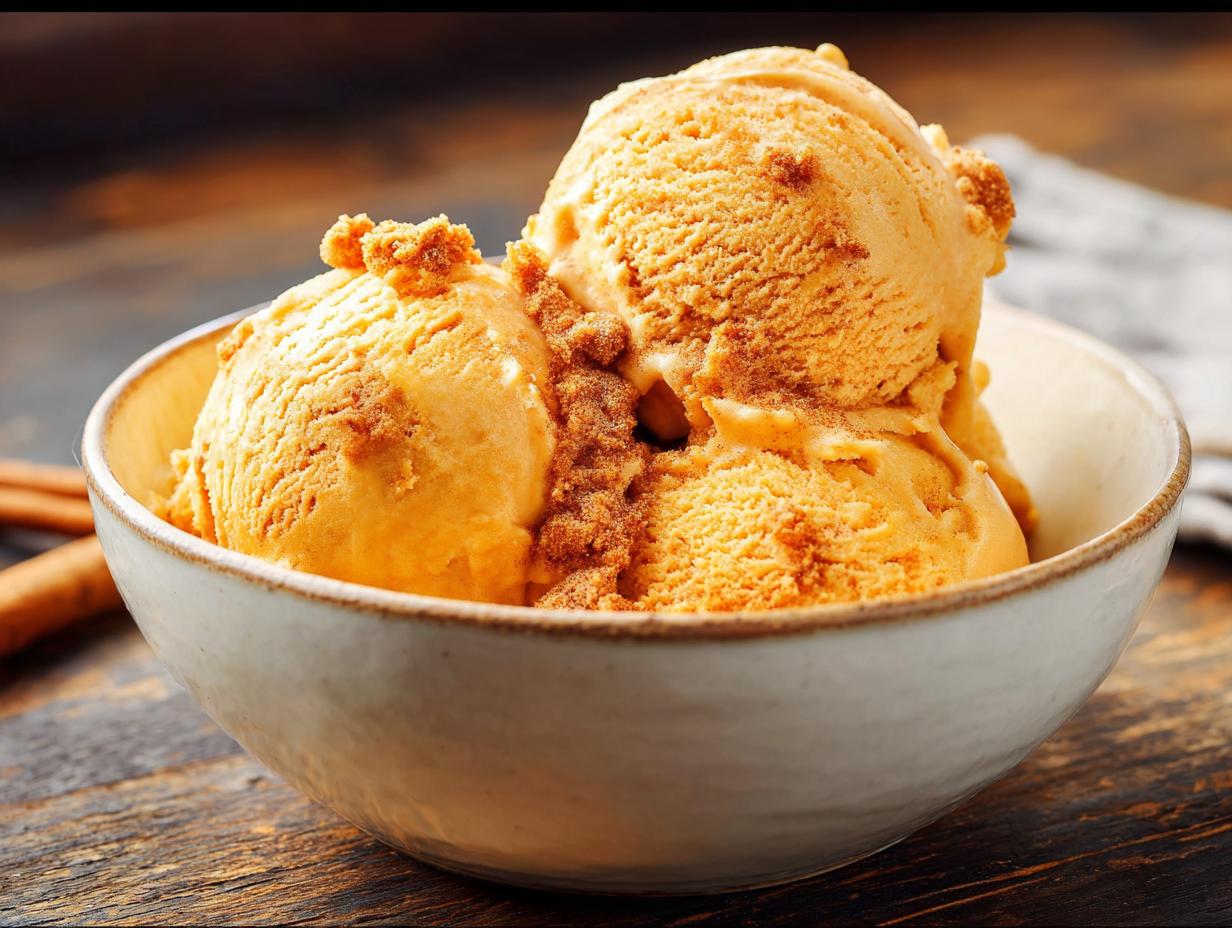
There’s nothing quite like the smell of pumpkin and spices drifting through the kitchen on a crisp fall day, is there? This Pumpkin Ice Cream is my absolute favorite way to capture that cozy feeling in a cold, creamy scoop. The best part? It’s incredibly creamy but totally egg-free and requires zero cooking – just a quick whisk and you’re on your way. I remember making my first batch one cool September afternoon, completely skeptical that a no-churn, no-egg base could turn out this rich. I was wrong, and I’ve never looked back. I’ve tested this Pumpkin Ice Cream multiple times to get the texture just right, and trust me, this version is a winner. So in this post, I’ll walk you through a simple list of ingredients, super clear steps, and a few of my favorite expert tips that make all the difference.
Why You’ll Love This Pumpkin Ice Cream
- No cooking, no eggs. Just whisk and churn. It takes about 10 minutes of hands-on time – seriously.
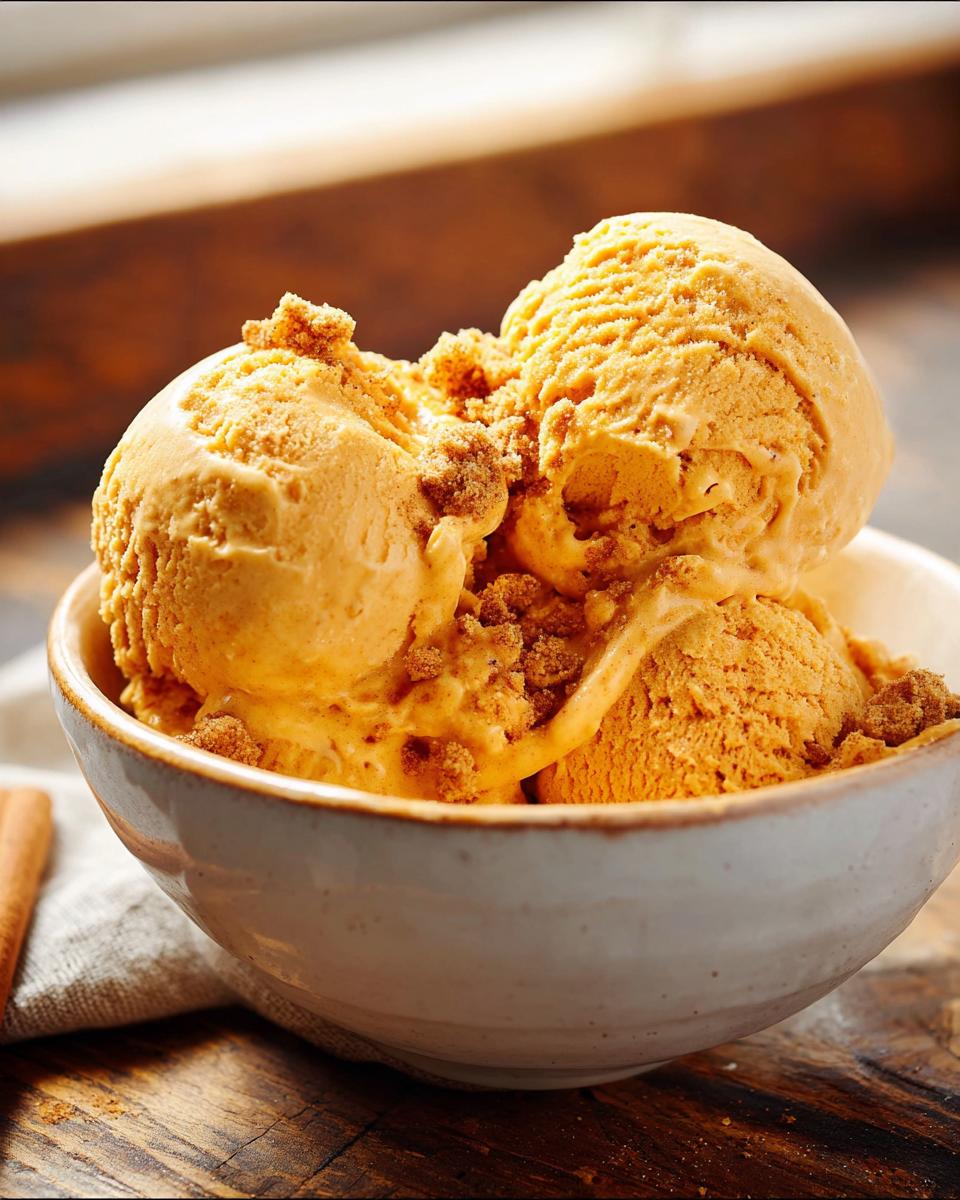
- Incredibly creamy. That rich, velvety texture comes from heavy cream and whole milk. No icy crystals here!
- Perfectly spiced. The pumpkin and warm spices are balanced, not overpowering. It tastes like fall in a bowl.
- Vegetarian and crowd-pleasing. Ideal for Thanksgiving or a cozy weeknight treat. It’s so easy you’ll want to make it all season long.
Pumpkin Ice Cream Ingredients List
Here’s exactly what you’ll need to pull this together. I’ve added a few notes to help you avoid the mistakes I made my first time!
- 2 cups heavy cream (cold, straight from the fridge)
- 1 cup whole milk (cold – don’t let it warm up)
- 3/4 cup granulated sugar
- 1/2 cup pumpkin puree (not pumpkin pie filling – trust me on this)
- 1 teaspoon vanilla extract
- 1/2 teaspoon ground cinnamon, 1/4 teaspoon nutmeg, 1/4 teaspoon ginger, 1/8 teaspoon cloves
- 1/4 teaspoon salt
Everything except the cream and milk should be at room temp. Keep those two nice and cold for the smoothest churn. This list makes exactly 1 quart of dreamy pumpkin ice cream.
Pumpkin Ice Cream Ingredient Notes and Substitutions
Let me break down why each ingredient pulls its weight here—and where you can safely swap. That heavy cream and whole milk combo is what gives this ice cream its dreamy, velvety mouthfeel. For a dairy-free version, full-fat coconut milk works beautifully in place of the whole milk (I’ve tested it, and it’s still luscious). If you’re using fresh pumpkin puree, please drain it well in a fine-mesh sieve or cheesecloth; too much water will make your ice cream icy instead of smooth. As for the spices, feel free to tweak them to your taste—though I’d keep the ratios close for that classic pumpkin spice balance. And one big no-no: don’t grab pumpkin pie filling. It’s pre-sweetened and spiced, so it’ll throw off the sugar and give you a gummy texture. Stick with pure pumpkin puree for a clean, honest flavor.
How to Make Pumpkin Ice Cream
Alright, let’s get into the actual process. I promise it’s super straightforward, but I’ve broken it down into three easy steps so nothing gets missed. The key is just to take it slow and make sure everything is nice and smooth before you churn. If you want to pop the mixture in the fridge for 30 minutes before churning, go for it—it’s not strictly necessary since we’re using cold cream and milk, but it can give you a slightly quicker churn in a warm kitchen.
Whisk the Base Together
Start by grabbing a medium bowl and dumping in your heavy cream, whole milk, and granulated sugar. Whisk it all together until the sugar is completely dissolved. This should take about a minute of steady whisking. You’ll know it’s ready when the mixture looks slightly thickened and glossy. Don’t skip this step—scrape the bottom and sides of the bowl with a spatula to make sure there aren’t any sneaky sugar granules hiding out. You want a smooth, sweet base right from the start.
Add the Pumpkin and Spices
Now it’s time for the fun part. Add the pumpkin puree, vanilla, and all those warm spices—cinnamon, nutmeg, ginger, cloves—plus the salt to the same bowl. Whisk vigorously until the mixture is completely uniform and turns a beautiful light orange color. I always check for any stubborn streaks of pumpkin puree, because those can freeze unevenly and give you icy patches. Here’s a little trick I love: taste a tiny spoonful of the base. Make sure the spice balance feels right to you. Sometimes I’ll add just a pinch more cinnamon if I’m feeling extra festive.
Churn and Freeze
Pour the prepared mixture straight into your ice cream maker. Churn it according to the manufacturer’s instructions, which usually takes about 20 to 25 minutes. You’re looking for a soft-serve consistency—thick, creamy, and scoopable right from the machine. Transfer it to a freezer-safe container with a tight-fitting lid. Here’s a pro tip: press a piece of parchment paper directly onto the surface of the ice cream before sealing. This stops ice crystals from forming and keeps it silky. Freeze for at least 4 hours, or overnight, until it’s firm. If you’re using a bowl-and-freezer method, check your manufacturer’s guide for a longer churn time, and definitely chill the mixture in the fridge for an hour first. When you’re ready to serve, let the pumpkin ice cream sit at room temperature for 5 minutes—it’ll scoop like a dream.
Tips for Perfect Pumpkin Ice Cream
I’ve learned a few tricks over the years that make this recipe foolproof. Here are my top tips for getting that dreamy texture every single time.
- Keep everything cold. Use heavy cream and milk straight from the fridge. A warm base won’t churn properly and will give you a grainy mess.
- Chill the base if your kitchen is warm. If it’s a hot day, pop the mixture in the fridge for 30 minutes before churning to help it along.
- Taste before you churn. I always sneak a little spoonful of the base to check the spice level. Add a pinch more cinnamon or nutmeg if you’re feeling bold.
- Don’t overfill your ice cream maker. The mixture expands as it churns, so leave some room to avoid a sticky overflow.
- Be patient. The churned ice cream will be soft, but it firms up beautifully after 4 hours in the freezer. And don’t forget to let it sit out for 5 minutes before scooping—it makes all the difference.
Storing and Reheating Pumpkin Ice Cream
You’ll want to store your homemade Pumpkin Ice Cream in a shallow, airtight container to keep air out and the texture creamy. Properly sealed, it stays fresh for up to two weeks. When you’re ready for a scoop, just let the container sit at room temperature for 5 to 10 minutes to soften. And no, we’re not actually reheating it—think of it as controlled softening, not melting. That little rest makes scooping so much easier and keeps the texture perfect.
FAQ
Can I Make Pumpkin Ice Cream Without an Ice Cream Maker?
Yes, you absolutely can! Pour the prepared base into a shallow dish and pop it in the freezer. After 1 hour, whisk it vigorously to break up any ice crystals. Repeat this every 30 minutes for 3 to 4 hours until it’s creamy. The texture will be a little icier than a churned version, but it’s still delicious—and way easier than you’d think.
How Long Does Homemade Pumpkin Ice Cream Last?
I’d say it’s best eaten within 1 to 2 weeks of freezing. The flavor and texture gradually start to fade the longer it sits, so don’t be shy—scoop it up while it’s fresh and creamy.
Can I Use Pumpkin Pie Filling Instead of Pumpkin Puree in Pumpkin Ice Cream?
I wouldn’t recommend it. Pumpkin pie filling is already sweetened and spiced, so it’ll throw off the sugar and those warm pumpkin spice proportions. You’ll end up with an overly sweet, slightly gummy texture. Stick with pure pumpkin puree for a clean, balanced flavor that lets the spices shine.
Pumpkin Ice Cream Nutritional Information
If you’re keeping an eye on things, here’s the breakdown for a 1/2 cup serving of this Pumpkin Ice Cream: about 280 calories, 18g fat, 28g carbohydrates, and 3g protein. Just keep in mind these are estimates—they’ll shift a bit depending on the exact brands of cream, milk, and pumpkin puree you grab. And if you swap in coconut milk like I mentioned, you’ll definitely want to run your own numbers. But honestly? For a treat this good, I’m not complaining.
Share Your Pumpkin Ice Cream Results
Have you tried this Pumpkin Ice Cream yet? I’d love to hear how it turned out! Drop a comment below or give it a 5-star rating if you loved it. Snap a photo and tag me on social media—I want to see your creamy creations. And tell me if you experimented with extra cinnamon or a coconut milk swap. This recipe is the perfect fall dessert to enjoy all season long. For more fall-themed recipes, check out these Pumpkin White Chocolate Macadamia Nut Cookies.
Print
10-Minute Creamy Pumpkin Ice Cream Recipe
- Total Time: 4 hours 10 minutes (includes freezing)
- Yield: 1 quart 1x
- Diet: Vegetarian
Description
A creamy pumpkin ice cream with warm spices. Perfect for fall.
Ingredients
- 2 cups heavy cream
- 1 cup whole milk
- 3/4 cup granulated sugar
- 1/2 cup pumpkin puree
- 1 teaspoon vanilla extract
- 1/2 teaspoon ground cinnamon
- 1/4 teaspoon ground nutmeg
- 1/4 teaspoon ground ginger
- 1/8 teaspoon ground cloves
- 1/4 teaspoon salt
Instructions
- In a medium bowl, whisk together heavy cream, milk, and sugar until sugar dissolves.
- Add pumpkin puree, vanilla, cinnamon, nutmeg, ginger, cloves, and salt. Whisk until smooth.
- Pour mixture into an ice cream maker. Churn according to manufacturer’s instructions, about 20-25 minutes.
- Transfer to a freezer-safe container. Freeze for at least 4 hours until firm.
- Scoop and serve.
Notes
- For a richer flavor, use full-fat coconut milk instead of whole milk.
- You can adjust spices to your taste.
- Let ice cream soften for 5 minutes before scooping.
- Prep Time: 10 minutes
- Cook Time: 0 minutes
- Category: Dessert
- Method: Churned
- Cuisine: American
Nutrition
- Serving Size: 1/2 cup
- Calories: 280
- Sugar: 24g
- Sodium: 120mg
- Fat: 18g
- Saturated Fat: 11g
- Unsaturated Fat: 6g
- Trans Fat: 0g
- Carbohydrates: 28g
- Fiber: 1g
- Protein: 3g
- Cholesterol: 70mg