
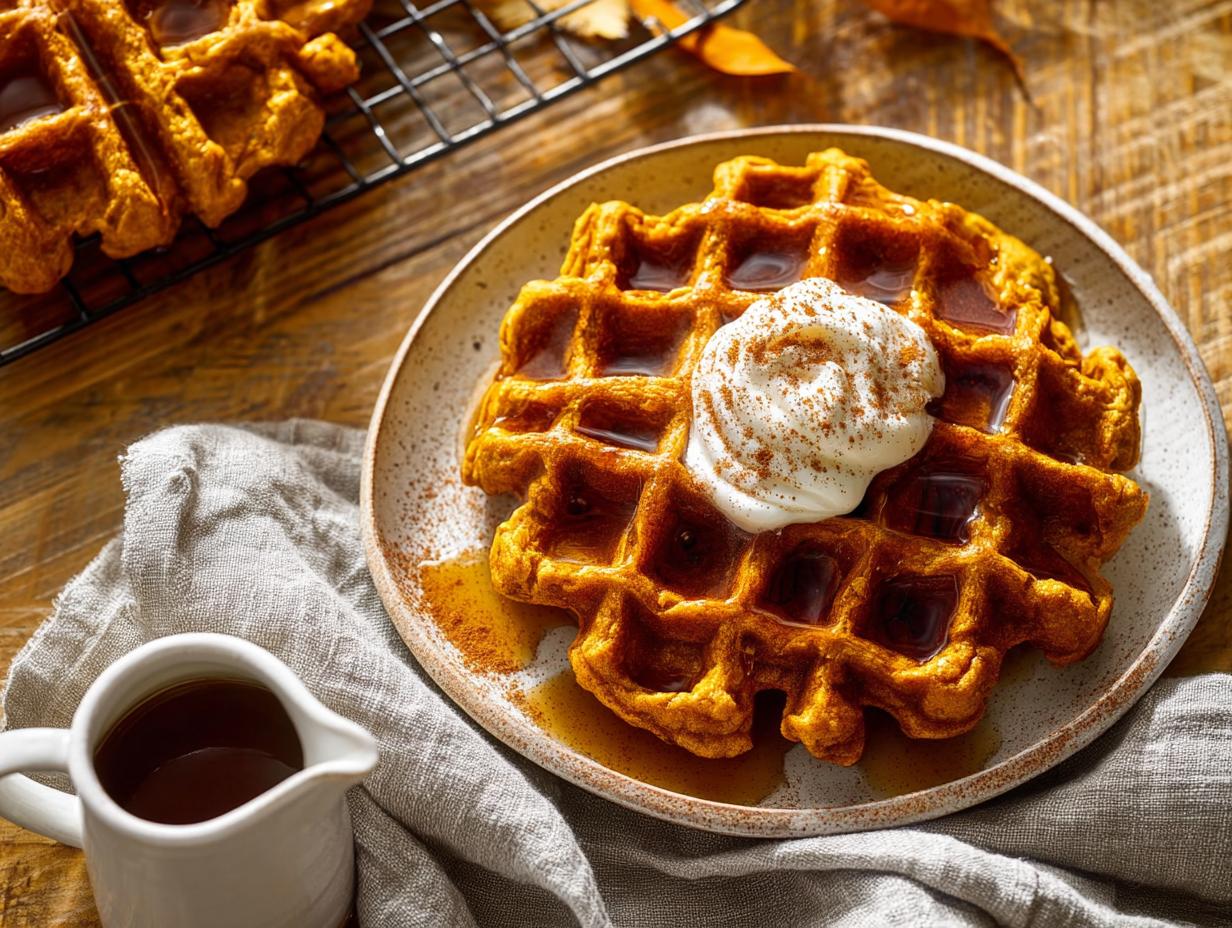
There’s something about a crisp fall morning that just begs for a stack of warm, golden Pumpkin Waffles. I’m not talking about those sad, soggy ones you get at hotel breakfast bars—I’m talking about waffles with those perfect crispy edges and a soft, fluffy middle that practically melts in your mouth. This recipe nails it every single time, thanks to real pumpkin puree and a few tricks I’ve picked up along the way.
Last weekend, when the first real chill hit the air, I whipped up a batch for my family. The kids were still in their pajamas, the kitchen smelled like cinnamon and nutmeg, and honestly? It was pure magic. I’ve tested this batter with different pumpkin puree consistencies—some brands are more watery than others—and I’ve figured out exactly how to get that ideal texture no matter what you’re working with.
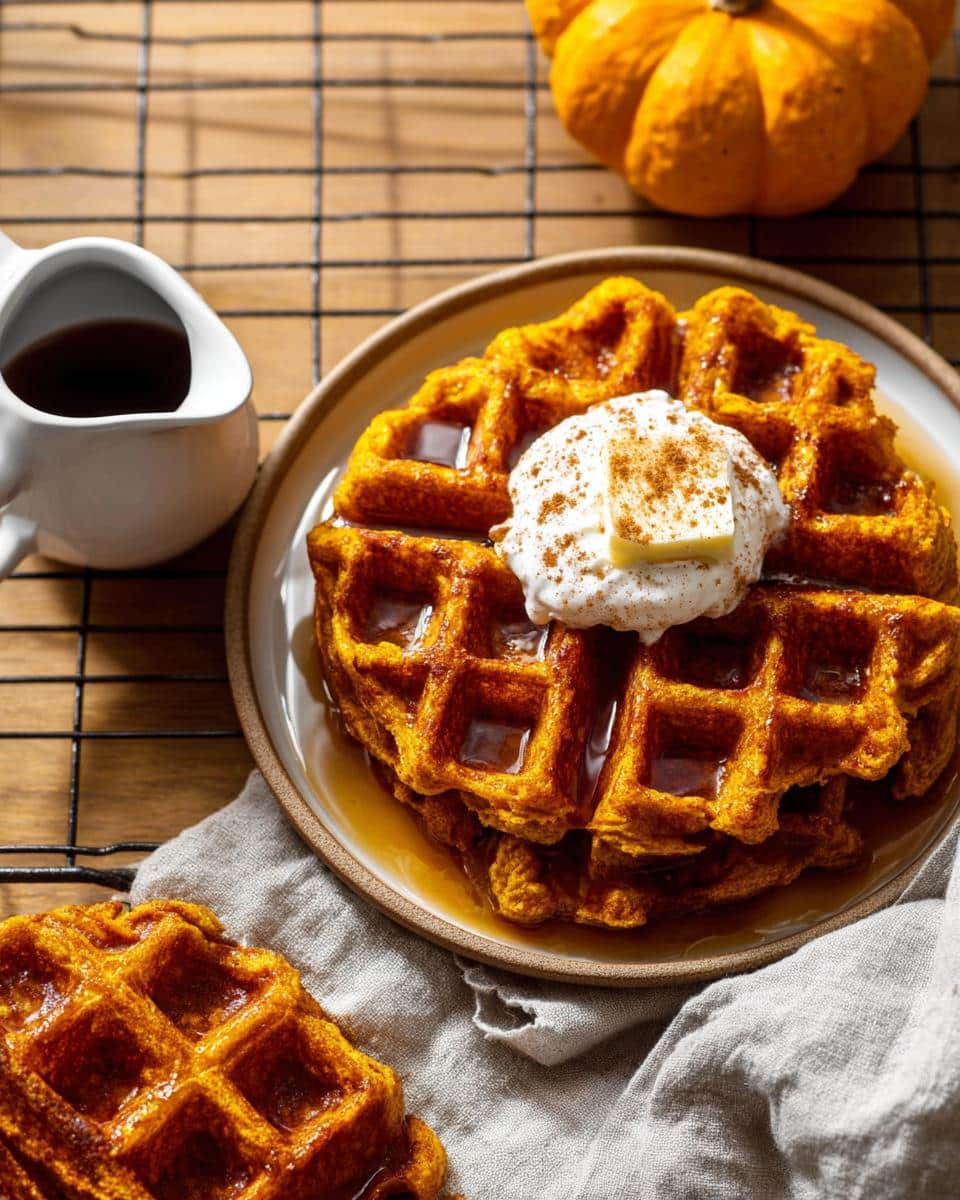
Why You Will Love These Pumpkin Waffles
Let me tell you why these are about to become your new fall obsession. First off, that exterior gets perfectly golden and crispy—exactly what you want from a waffle. But crack through that shell and you’ll find a soft, tender inside that’s almost cloud-like.
The best part? You’re looking at just 25 minutes from start to finish. On busy mornings, that’s a game-changer. Everything uses basic pantry staples too, so you won’t need to hunt down fancy ingredients. And those warm fall spices? They’ll make your whole kitchen smell like heaven.
- Perfectly crisp exterior that shatters when you bite into it
- Soft and fluffy interior that stays tender, never dense or gummy
- Ready in 25 minutes with ingredients you probably already have
Ingredients for Perfect Pumpkin Waffles
I’m a bit of a stickler when it comes to ingredients, and this recipe is no different. Getting these right is the difference between okay waffles and absolutely unforgettable pumpkin waffles.
You’ll need 1 1/2 cups all-purpose flour, spooned and leveled—don’t scoop straight from the bag or you’ll pack in too much. For sweetness, use 1/4 cup packed light brown sugar (pack it firmly into the measuring cup). The star of the show is 1/2 cup canned pumpkin puree—make sure it’s pure pumpkin, not pumpkin pie filling, which has sugar and spices already added.
For leavening and flavor: 2 teaspoons baking powder, 1 teaspoon pumpkin pie spice (store-bought or homemade, both work great), and 1/2 teaspoon salt. Then grab 1 cup whole milk (2% works too), 2 large eggs at room temperature (trust me, this matters for fluffiness), 1/4 cup unsalted butter, melted and slightly cooled, and 1 teaspoon pure vanilla extract.
Equipment You Will Need
You don’t need a ton of fancy gear for these pumpkin waffles, just a few basics. First up, a waffle iron—standard or Belgian, whatever you’ve got works. Grab two medium mixing bowls, a whisk, and a rubber spatula for folding that batter. You’ll also want measuring cups and spoons, plus a ladle or a liquid measuring cup to pour the batter neatly onto the iron.
Optional but handy: a pastry brush for greasing the iron evenly. I’ve learned that a quick brush of oil gives you those gorgeous crispy edges every time.
How to Make Pumpkin Waffles Step by Step
Alright, let’s get into the good stuff—actually making these pumpkin waffles. It’s super straightforward, but a few little tricks make all the difference. Here’s exactly how I do it.
- Preheat your waffle iron. Don’t skip this! You want it nice and hot so the batter crisps up the second it hits the plates. Follow your manufacturer’s instructions since every iron runs a bit differently.
- In a large bowl, whisk together the flour, brown sugar, baking powder, pumpkin pie spice, and salt. Give it a good whisk so everything’s evenly distributed—nobody wants one bite full of sugar and the next one tasting plain.
- In a separate bowl, whisk the pumpkin puree, milk, eggs, melted butter, and vanilla until smooth. The color at this point is just gorgeous, all those warm fall tones coming together like a cozy sweater in liquid form.
- Pour the wet mixture into the dry. Stir gently with a rubber spatula until just combined. Here’s the biggest secret: don’t overmix! A few lumps are totally okay. Those little lumps are what make your waffles fluffy instead of tough and chewy.
- Lightly grease the hot waffle iron. I use a quick spray of cooking oil or a pastry brush with a little oil. This step is key for that crispy golden exterior we’re after.
- Pour about 1/2 cup of batter onto the center of the iron. Close the lid and let it cook until golden brown and crisp—usually 3 to 5 minutes depending on your iron. A little patience goes a long way here.
- Carefully lift the waffle out and serve it up, or keep it warm on a wire rack in a 200°F oven while you cook the rest. Repeat with the remaining batter and enjoy every last bite.
Tips for Crispy and Fluffy Pumpkin Waffles Every Time
After making these pumpkin waffles more times than I can count, I’ve picked up a few tricks that make all the difference. First up—don’t overmix that batter! I know it’s tempting to keep stirring until everything’s smooth, but those little lumps are actually your best friend. They create pockets of steam that give you the fluffiest interior. Let the batter rest for about 5 minutes before cooking too; it relaxes the gluten and makes the texture even lighter.
Your waffle iron needs to be seriously hot. I test mine by flicking a few drops of water on it—if they dance and sizzle, you’re good to go. Whatever you do, don’t peek too early! Opening the lid before the steam stops escaping will ruin that crispiness. For extra crunch, let them cook until deep golden brown. And here’s the real game-changer: keep finished waffles on a wire rack in a low oven, not stacked on a plate. Stacking traps steam and turns them soggy. A wire rack lets air circulate so every bite stays perfectly crisp.
Variations and Substitutions for Pumpkin Waffles
One of my favorite things about this recipe is how easy it is to play around with. I’ve made so many versions over the years, and honestly, most of them have been winners. Want to go a little healthier? Swap the all-purpose flour for whole wheat flour—it adds a nice nutty flavor that works beautifully with the pumpkin.
Feeling a little indulgent? Toss in 1/4 cup mini chocolate chips or 1/3 cup chopped pecans right before you cook the batter. The chocolate gets all melty and the pecans add this amazing crunch. My kids go crazy for the chocolate chip version, especially when I drizzle a little extra maple syrup on top.
If you’re dairy-free, I’ve tested this with oat milk and melted coconut oil instead of regular milk and butter, and it works like a charm. For a gluten-free option, just swap in a 1:1 gluten-free flour blend—no other changes needed. I also love adding 1/2 teaspoon ground ginger for an extra warm, zippy kick. And for a protein-packed breakfast, top your waffles with a big dollop of Greek yogurt and a drizzle of maple syrup. It’s like a cozy, healthy-ish dessert for breakfast!
Serving Suggestions for Pumpkin Waffles
Honestly, half the fun of these waffles is figuring out what to pile on top. I’m a classic maple syrup girl myself—warm it up a little before pouring, and it soaks into all those nooks and crannies perfectly. But a generous dollop of whipped cream and a dusting of powdered sugar? That’s pure breakfast magic. For a little extra indulgence, try a drizzle of caramel sauce—it’s amazing with the pumpkin spice.
To make it a full meal, I love serving these alongside some crispy bacon or fluffy scrambled eggs. The salty-sweet combo is just unbeatable. And if you’re really leaning into the cozy vibes, pair your waffles with a hot cup of coffee or a mug of spiced apple cider. Trust me, it’s the kind of breakfast that makes you want to stay in your pajamas all morning.
Storage and Reheating Instructions
If you’ve got leftovers (which honestly doesn’t happen often in my house), here’s what to do. Let the waffles cool completely on a wire rack—skipping this step traps steam and makes them sad and soggy. Pop them in an airtight container in the fridge, and they’ll keep for up to 3 days.
For longer storage, I freeze them all the time. Just lay the waffles in a single layer on a baking sheet, freeze until solid, then transfer to a freezer bag. They’ll stay good for up to 3 months. When you’re ready, reheat them in a toaster or toaster oven until they’re crispy again. Trust me on this one—avoid the microwave. It turns those beautiful crispy edges into a rubbery mess. Your toaster is your best friend here.
Frequently Asked Questions About Pumpkin Waffles
I get asked a lot of questions about these pumpkin waffles, so let me tackle the most common ones I hear. I’ve made this recipe more times than I can count, and these are the things I wish someone had told me when I first started.
Can I use fresh pumpkin puree?
Absolutely! Fresh pumpkin puree works great in this recipe. Just keep in mind that homemade puree tends to have more water than the canned stuff. Before adding it to your batter, wrap it in a few layers of cheesecloth and gently squeeze out the excess liquid. Trust me on this one—too much water in your puree will give you soggy waffles, and nobody wants that. If you don’t have cheesecloth handy, you can also pat it dry with paper towels. It’s an extra step, but it’s totally worth it.
Can I make the batter ahead of time?
Honestly, this batter is best used right away. Once the wet and dry ingredients meet, the baking powder starts working its magic, and you want to capture that lift while it’s fresh. But here’s my little trick—you can absolutely mix the dry ingredients in one bowl and the wet ingredients in another the night before. Keep them covered in the fridge, and when morning rolls around, just combine them and cook. You’ll have hot, fresh waffles in no time without starting from scratch.
Why are my waffles not crispy?
Oh, I’ve been there! The most common culprits are usually the waffle iron not being hot enough or you’re peeking too early. That little window of steam escaping the sides is your signal—once it stops, your waffle is ready. Let it cook until it’s deep golden brown, not just lightly colored. Another sneaky reason? If you’re stacking your finished waffles on a plate, the steam from the bottom one softens the ones on top. Pop them on a wire rack in a low oven instead, and they’ll stay beautifully crisp.
Can I double this recipe?
Yes! This recipe doubles beautifully, which is perfect for feeding a crowd or meal-prepping for busy mornings. I do it all the time when I want to stock my freezer. The cooking time stays about the same, though you might need to adjust how long each batch takes if you’re making a lot. Leftover waffles freeze great, so don’t stress if you make extra—they’ll reheat to crispy perfection in the toaster whenever you need them.
Nutritional Information
Just a quick heads-up before you dive in—the nutritional details I’ve shared are estimates based on the specific ingredients and brands I typically use. Everyone’s kitchen is a little different, so your actual numbers might vary depending on what you grab at the store. If you’re tracking macros or have specific dietary needs, it’s always a good idea to run the recipe past a nutritionist who can give you personalized guidance. But for the most part, these pumpkin waffles are a pretty solid way to start your fall morning!
Your Turn to Make These Pumpkin Waffles
Alright, friend, now it’s your turn to get into that kitchen and make these pumpkin waffles your own! I can’t wait to hear how they turn out for you. Drop a comment below and let me know—did your family love them as much as mine does? I’d be over the moon if you snapped a photo and tagged me on social media too. And hey, if these waffles made your morning a little cozier, a star rating would totally make my day. Happy cooking!
Print
Perfect Pumpkin Waffles in 25 Minutes
- Total Time: 25 minutes
- Yield: 4 waffles 1x
- Diet: Vegetarian
Description
Crisp and fluffy waffles with pumpkin flavor. Perfect for fall breakfasts.
Ingredients
- 1 1/2 cups all-purpose flour
- 1/2 cup pumpkin puree
- 1/4 cup brown sugar
- 2 teaspoons baking powder
- 1 teaspoon pumpkin pie spice
- 1/2 teaspoon salt
- 1 cup milk
- 2 large eggs
- 1/4 cup melted butter
- 1 teaspoon vanilla extract
Instructions
- Preheat your waffle iron.
- In a large bowl, whisk flour, brown sugar, baking powder, pumpkin pie spice, and salt.
- In another bowl, mix pumpkin puree, milk, eggs, melted butter, and vanilla.
- Pour wet ingredients into dry. Stir until just combined.
- Lightly grease the waffle iron.
- Pour batter onto the iron. Cook until golden and crisp.
- Serve warm with syrup or whipped cream.
Notes
- You can use whole wheat flour for a healthier option.
- Add chocolate chips or nuts for extra texture.
- Leftover waffles freeze well. Reheat in a toaster.
- Prep Time: 10 minutes
- Cook Time: 15 minutes
- Category: Breakfast
- Method: Waffle Iron
- Cuisine: American
Nutrition
- Serving Size: 1 waffle
- Calories: 320
- Sugar: 12 g
- Sodium: 480 mg
- Fat: 14 g
- Saturated Fat: 8 g
- Unsaturated Fat: 5 g
- Trans Fat: 0 g
- Carbohydrates: 42 g
- Fiber: 2 g
- Protein: 7 g
- Cholesterol: 85 mg