
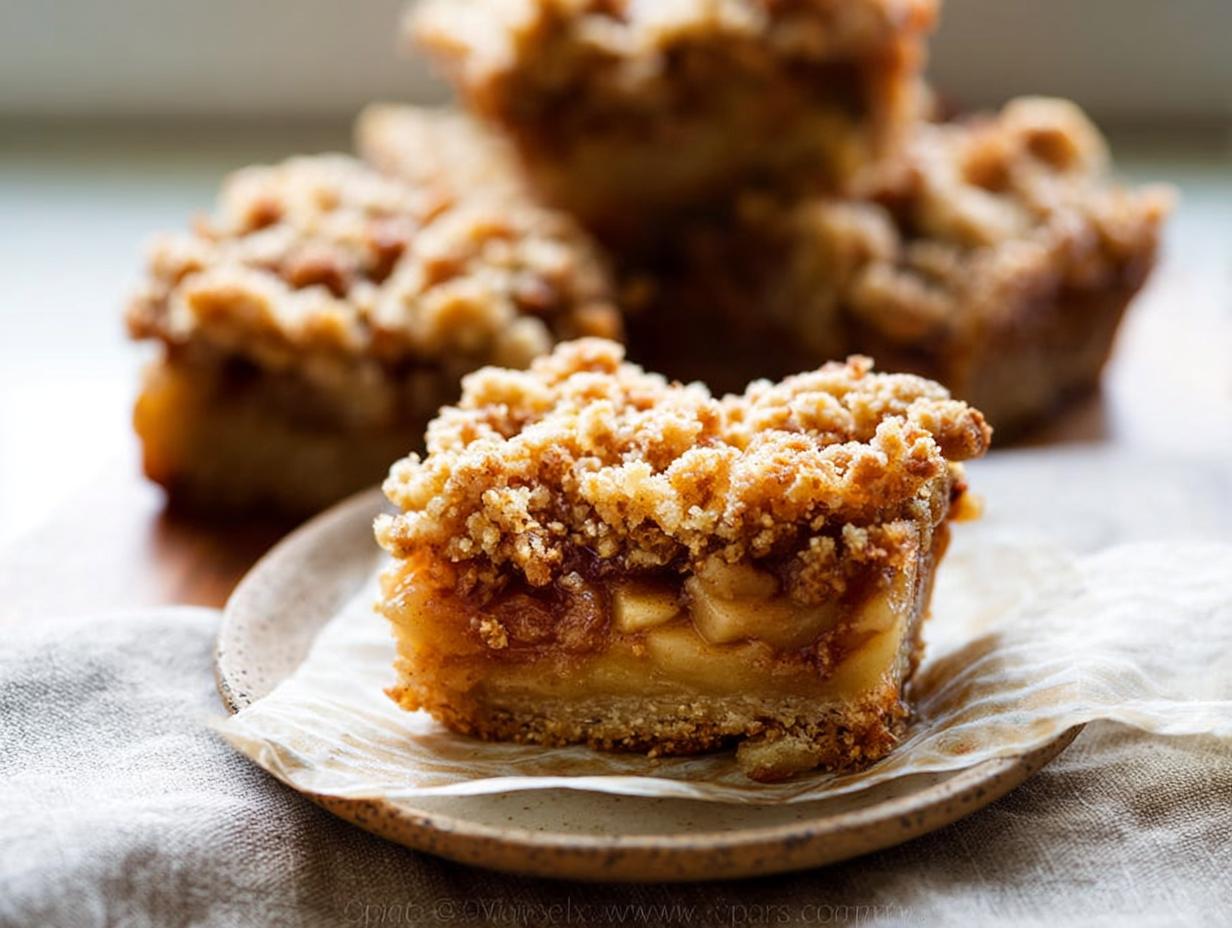
I’ll never forget the first time I brought these Apple Pie Bars to our annual fall potluck. I walked in with a pan of them, still warm from the oven, and the smell of cinnamon and baked apples hit everyone before I even set them down. By the end of the night, I had three people ask for the recipe, and the pan was scraped clean. That’s the thing about these bars—they take everything you love about a classic apple pie (the buttery crust, the tender spiced filling, that crumbly topping) and pack it all into a no-fuss bar that you can cut and serve without rolling a single piece of dough. No wrestling with a pie crust, no worrying about a soggy bottom. Just layer, bake, and enjoy. They’re honestly my go‑to fall dessert now, because they taste like a hug from grandma but come together in under an hour. Trust me, once you make a batch, you’ll understand why they disappeared so fast at that potluck.
Why You Will Love These Apple Pie Bars
These bars are everything I want in a fall dessert—and nothing I don’t. Here’s why they’ll become your new favorite, too:
- No rolling pie crust. Seriously, you just press the dough into the pan. No floury counter, no cracked edges, no stress.
- Super portable. They’re sturdy enough to stack in a lunchbox or carry to a potluck without falling apart.
- Easier than pie. All the warm, spiced apple flavor, but with way less fuss. You’ll have a pan ready in about an hour.
- Simple ingredients. Butter, flour, sugar, apples—stuff you probably already have in your pantry. No fancy trips to the store.
Key Ingredients for the Best Apple Pie Bars
Let’s talk about what makes these bars truly shine. The magic really comes down to a few simple ingredients, each doing an important job. First up, the apples. I swear by Granny Smith or Honeycrisp here. They’re firm enough to hold their shape during baking, so you get nice tender chunks instead of applesauce. You’ll also want cold unsalted butter for both the crust and the topping—it’s non-negotiable for that flaky, tender texture. And for the filling, grab either light or dark brown sugar; honestly, it doesn’t matter one bit. Both add that deep, caramel-like sweetness that pairs so perfectly with the apples. Use what you’ve got!
The Buttery Shortbread Crust
This crust is pure magic—it’s basically a shortbread cookie base, and the secret is cold butter. I mean really cold, straight-from-the-fridge cold. Cut it into small cubes before you start. When you work the butter into the flour, those little cold bits create steam pockets as they melt in the oven, which gives you that wonderfully flaky, tender crumb.
The Spiced Apple Filling
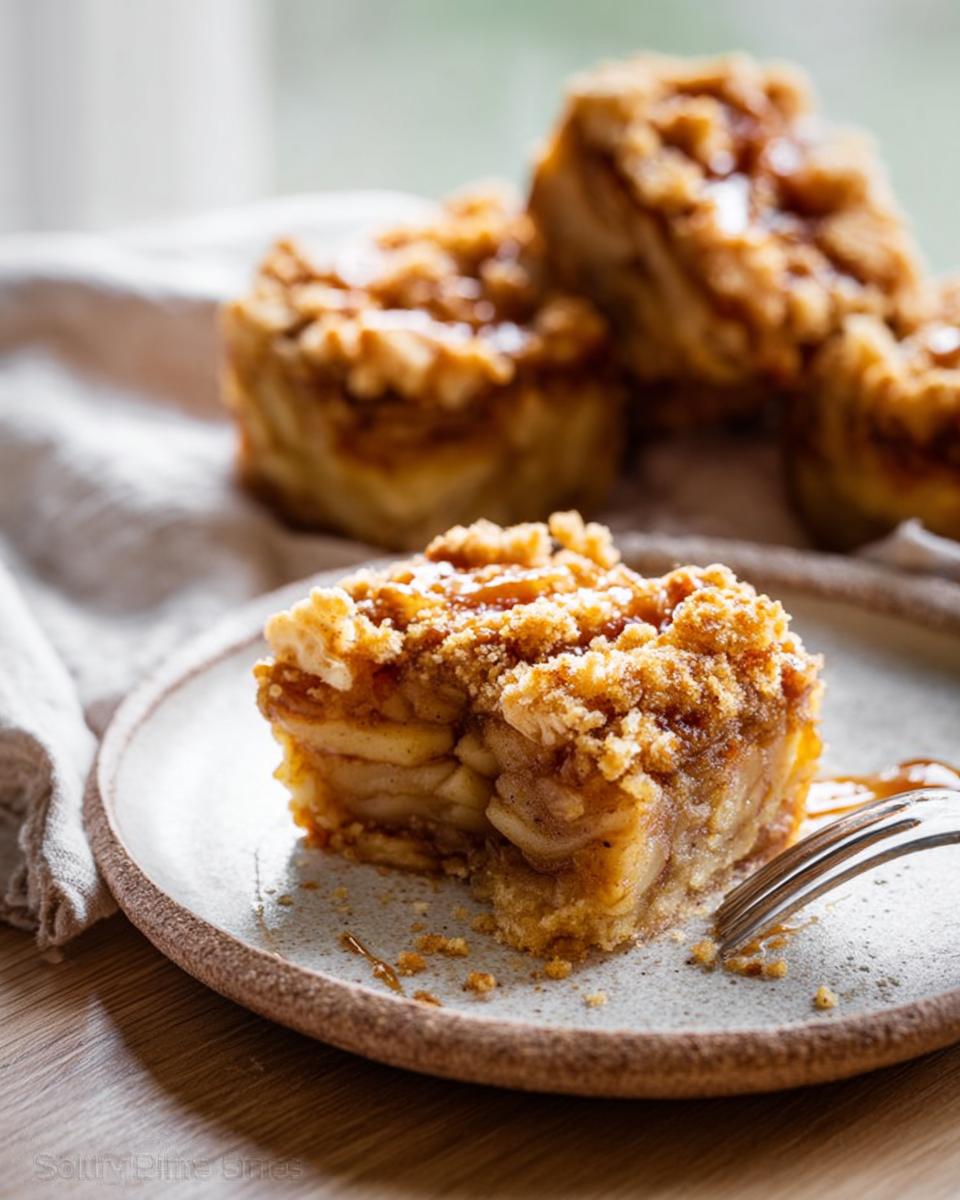
The filling is where all that cozy flavor lives. I toss the diced apples with brown sugar, cinnamon, nutmeg, and a little cornstarch. That cornstarch is your best friend—it thickens all the juices the apples release, so you get a luscious, jammy filling instead of a watery mess. And don’t skip the fresh lemon juice! It stops the apples from browning and adds a tiny pop of brightness that makes all the warm spices sing.
The Crumb Topping
Oh, this topping! It’s the perfect balance of flour, brown sugar, and cold butter. When you cut that butter into the dry ingredients, you’re aiming for a sandy, clumpy texture—some bigger pebbles, some fine crumbs. As it bakes, those clumps turn golden and crisp, creating that irresistible crunchy layer on top.
Essential Equipment for Making Apple Pie Bars
You don’t need a fancy kitchen to pull these off. Grab a 9×13-inch baking pan and line it with parchment paper—that’s my secret for lifting the whole slab out cleanly. A pastry cutter (or just a fork if you’re me and can’t find yours) makes cutting in the butter a breeze. Plus a couple of mixing bowls and your usual measuring cups and spoons. That’s it!
How to Prepare Apple Pie Bars: A Step-by-Step Guide
Alright, let’s get to the fun part! I’m going to walk you through this exactly how I do it in my own kitchen. First things first—preheat your oven to 350°F (175°C) and line your 9×13-inch pan with parchment paper. Trust me, doing this before you start mixing saves you from scrambling later. You’ll want the parchment to hang over the edges a bit so you can lift the whole thing out like a present. Now let’s break it down.
1. Prepare the Crust
In a large bowl, whisk together the flour, granulated sugar, and salt. Now, grab that cold butter and cut it into the dry mixture using a pastry cutter or two forks. You’re looking for coarse crumbs, like wet sand. Then, stir in the egg until a soft dough forms. Don’t overwork it—just mix until it comes together. Press the dough evenly into your prepared pan, making sure it reaches all the corners. Pop it in the oven for 15 minutes, until it’s just lightly golden around the edges.
2. Make the Apple Filling
While the crust bakes, grab another bowl and toss together your diced apples, brown sugar, cinnamon, nutmeg, lemon juice, and cornstarch. Give everything a good stir until every single apple piece is coated in that spiced goodness. The cornstarch is key here—it’ll thicken all those lovely juices as the bars bake, so you get a nice, jammy filling instead of a soggy mess.
3. Assemble and Bake
Once the crust comes out of the oven, spread that apple filling right over the hot crust in an even layer. Now, for the topping—in a small bowl, mix together the flour, brown sugar, and cold butter until it’s crumbly. Sprinkle it evenly over the apples. Bake for 25 to 30 minutes, until the topping is golden and the filling is bubbly around the edges. Here’s the hard part: let it cool completely in the pan on a wire rack. I know, I know, the smell is amazing. But if you cut too soon, you’ll get a crumbly mess. Patience pays off!
Tips for Perfect Apple Pie Bars Every Time
After making these bars more times than I can count, I’ve picked up a few little tricks that make all the difference. First, use a sharp knife when you’re ready to cut—and make sure those bars have cooled completely. A dull knife will just squish the topping right off. Next, don’t overwork that crust dough. I know it’s tempting to keep mixing until it’s perfectly smooth, but stop as soon as it comes together. Overmixing develops too much gluten, and you’ll end up with a tough, chewy base instead of that tender shortbread texture.
If your crust dough feels too soft and sticky while you’re pressing it into the pan, just pop it in the fridge for 10-15 minutes. It’ll firm right up and be way easier to handle. And here’s the biggest one: let those bars cool for at least an hour before you even think about slicing. I know the smell is torture, but warm bars will fall apart on you. Trust me, I’ve learned that lesson the hard way!
Variations on These Apple Pie Bars
Once you’ve mastered the basic recipe, it’s so fun to play around with it. My favorite twist is stirring 1/2 cup of chopped pecans or walnuts into the crumb topping before you sprinkle it on—they get all toasty and add the most amazing crunch. If you want to mix up the filling, try swapping out half the apples for firm, ripe pears. They soften beautifully and have a lovely, delicate sweetness that pairs perfectly with the cinnamon. And for a little tart pop, toss in 1/4 cup of dried cranberries along with the apples. They plump up as they bake and those little bursts of tang are just wonderful against the sweet, spiced filling. I’ve made all three versions, and honestly, I can’t pick a favorite!
How to Store Your Apple Pie Bars
Got leftovers? Lucky you! Just pop them in an airtight container and they’ll stay fresh on the counter for up to 3 days. If you want them to last a bit longer, the fridge will keep them happy for about 5 days—though I think they taste even better cold, straight from the fridge, honestly. One thing I wouldn’t do, though: don’t freeze these. The apples get watery and the crust loses that lovely crumbly texture we worked so hard for. Trust me on this one!
Frequently Asked Questions About Apple Pie Bars
I get asked a lot of questions about these bars, so I figured I’d answer the most common ones right here. Hope this helps you out as much as it’s helped me over the years!
Can I use pre-made pie crust instead?
Sure, you can, but the texture will be different. A pre-made crust won’t have that same buttery shortbread feel. If you try it, just press it into your pan and pre-bake it like you would the regular crust.
Why are my apple pie bars soggy?
Ah, the dreaded soggy bar. Usually it’s one of three things: you skipped the pre-bake step for the crust, you didn’t let them cool completely before cutting, or you used apples that were too ripe. Stick with firm apples like Granny Smith and follow the cooling time—it makes all the difference.
Can I make these gluten-free?
Absolutely! Just swap in a 1:1 gluten-free flour blend for the all-purpose flour. The results will be a tad more crumbly, but still delicious. I’ve made these easy apple bars that way for friends, and they’ve never complained!
Do I need to peel the apples?
Yes, please do. The peels turn tough and chewy when baked, and you’ll end up with little bits of skin in every bite. I always peel mine for the smoothest, most tender bars.
Nutritional Information
If you’re curious, here’s the rough breakdown for one bar: about 180 calories, 8 grams of fat, 26 grams of carbs, and 2 grams of protein. I want to be upfront with you, though—these numbers are just estimates based on the ingredients I typically use. Your actual numbers might shift a little depending on the brand of butter you grab, the size of your apples, or even which brown sugar you reach for. So take them as a helpful guideline, not gospel. And honestly? I don’t stress too much about the numbers when something tastes this good!
Leave a Rating or Comment
I’d love to hear how yours turned out! If you give these a try, drop a star rating below or leave me a comment. Your feedback helps other bakers and honestly, it just makes my day. Happy baking!
Print
No-Roll Apple Pie Bars: 1 Easy Fall Dessert
- Total Time: 1 hour
- Yield: 24 bars 1x
- Diet: Vegetarian
Description
Apple Pie Bars are a simple dessert with a buttery crust, spiced apple filling, and a crumb topping. They are easy to make and perfect for sharing.
Ingredients
- 2 cups all-purpose flour
- 1/2 cup granulated sugar
- 1/2 cup unsalted butter, cold and cubed
- 1 large egg
- 1/2 teaspoon salt
- 4 cups apples, peeled and diced (about 4 medium apples)
- 1/4 cup brown sugar
- 1 teaspoon ground cinnamon
- 1/4 teaspoon ground nutmeg
- 1 tablespoon lemon juice
- 1 tablespoon cornstarch
Instructions
- Preheat your oven to 350°F (175°C). Line a 9×13-inch baking pan with parchment paper.
- In a bowl, mix flour, granulated sugar, and salt. Cut in cold butter until mixture resembles coarse crumbs. Stir in egg to form a dough.
- Press dough evenly into the prepared pan. Bake for 15 minutes, until lightly golden.
- In a separate bowl, combine diced apples, brown sugar, cinnamon, nutmeg, lemon juice, and cornstarch. Toss to coat.
- Spread apple mixture over the baked crust.
- In a small bowl, combine 1/2 cup flour, 1/4 cup brown sugar, and 1/4 cup cold butter. Mix until crumbly. Sprinkle over apples.
- Bake for 25 to 30 minutes, until apples are tender and topping is golden.
- Let cool completely before cutting into bars.
Notes
- Use firm apples like Granny Smith or Honeycrisp for best texture.
- Cool bars completely for clean cuts.
- Store in an airtight container at room temperature for up to 3 days.
- Prep Time: 20 minutes
- Cook Time: 40 minutes
- Category: Dessert
- Method: Baking
- Cuisine: American
Nutrition
- Serving Size: 1 bar
- Calories: 180
- Sugar: 12g
- Sodium: 95mg
- Fat: 8g
- Saturated Fat: 5g
- Unsaturated Fat: 2g
- Trans Fat: 0g
- Carbohydrates: 26g
- Fiber: 1g
- Protein: 2g
- Cholesterol: 25mg