
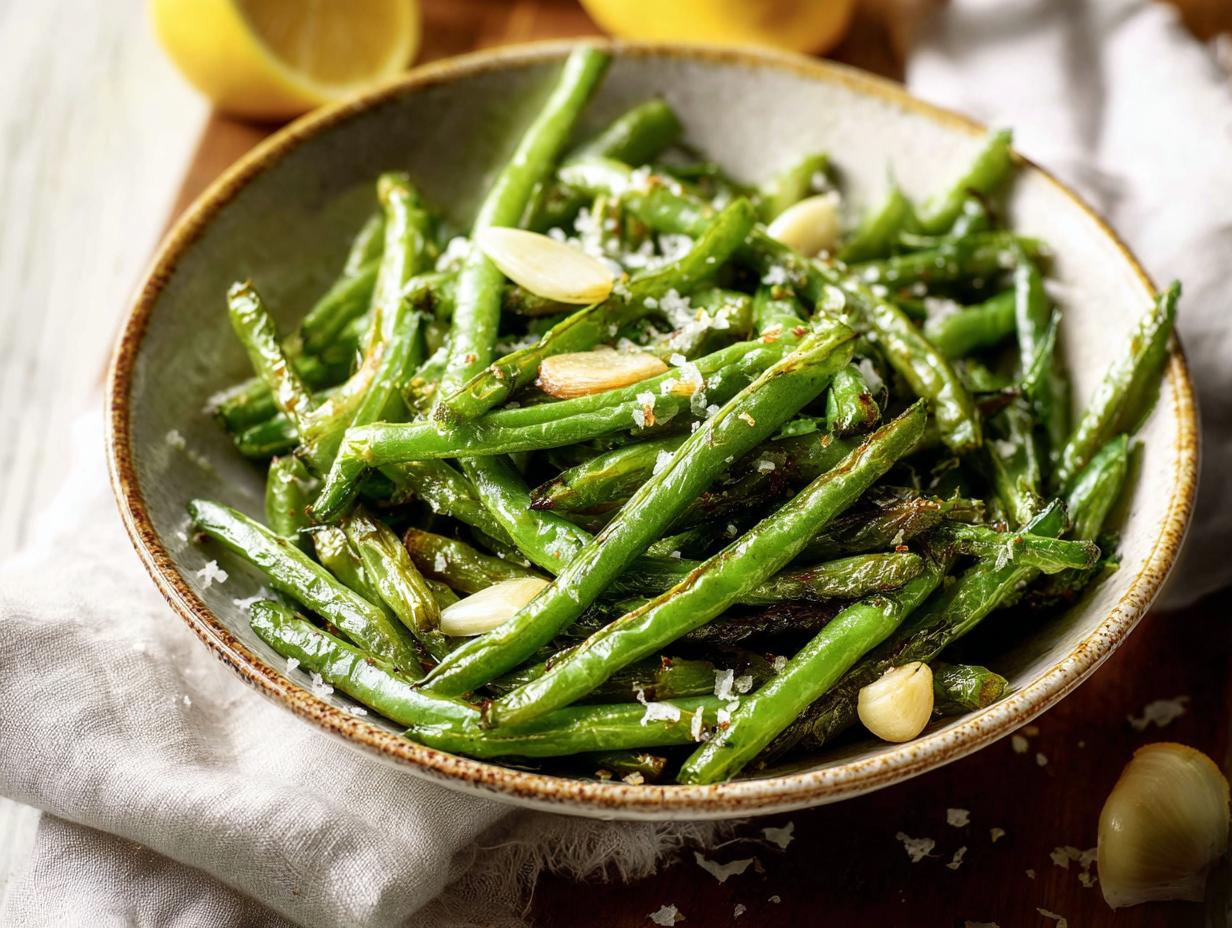
Let me be honest with you: I used to think green beans were boring. You know, that sad, steamed pile on the side of a plate that everyone pushes around? That was my life for way too long. Then, one night, I was desperate for a quick vegetable to go with a simple roast chicken. I had a bag of fresh green beans in the fridge and decided to just toss them in olive oil and salt, throw them in a hot oven, and hope for the best. The moment I pulled that baking sheet out, I was a changed woman. The edges were blistered and crispy, the insides were tender, and they had this incredible, concentrated flavor. That first batch of Roasted Green Beans was a total game-changer. It taught me that the best side dishes don’t need a complicated recipe—just a little heat and a lot of trust. Now, I make them at least once a week, and I can’t imagine going back to the steamed version. Trust me on this one.
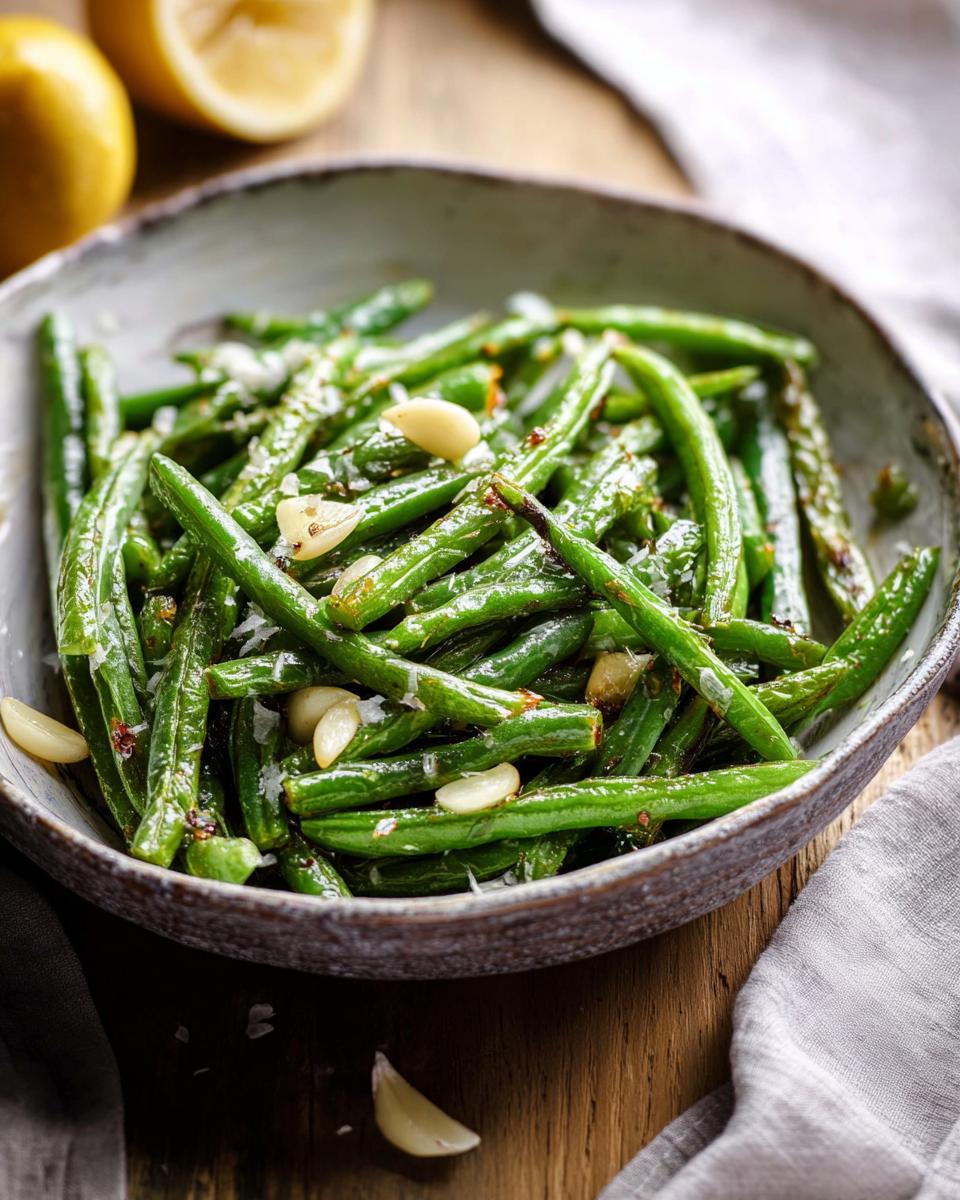
Why You Will Love This Roasted Green Beans Recipe
- It uses just five simple ingredients you probably already have in your kitchen.
- The whole thing comes together in under 30 minutes, from start to finish.
- It’s a naturally healthy side dish that fits almost any diet, including vegan and gluten-free.
- The high heat creates those irresistible crispy, blistered edges while keeping the inside tender.
- You can customize it endlessly with different seasonings or toppings to match any main dish.
Ingredients for Roasted Green Beans
Here’s the beautiful thing about this recipe—you only need a handful of ingredients, and I’m willing to bet you already have most of them in your pantry. Let me walk you through exactly what to grab, because a little specificity makes all the difference.
- 1 pound fresh green beans, ends trimmed – Don’t even think about using canned or frozen here. Fresh beans give you that snappy texture and sweet flavor that makes this dish shine.
- 2 tablespoons extra virgin olive oil – Use a good one. It’s the only fat in the recipe, so it carries all the flavor. I love a fruity, grassy olive oil here.
- 3 cloves garlic, minced finely – Fresh garlic, not the jarred stuff. Mince it fine so it coats every bean and roasts into golden, nutty little bits.
- 1/2 teaspoon fine sea salt – Fine salt dissolves better and seasons evenly. If you only have kosher salt, use a bit more—maybe 3/4 teaspoon.
- 1/4 teaspoon freshly ground black pepper – Pre-ground pepper is fine in a pinch, but fresh cracked pepper adds that little pop of warmth that makes the beans sing.
That’s it. Five ingredients, no fuss. The magic happens in the oven.
How to Make Roasted Green Beans
Okay, let me walk you through this. It’s so simple, but a few little tricks make all the difference between good roasted green beans and absolutely irresistible ones. I’ve learned these the hard way (hello, soggy beans), so trust me on this.
Step 1: Preheat your oven to 425°F (220°C). I know, I know—every recipe says that. But here’s the thing: high heat is non-negotiable for crispy, blistered edges. If you go lower, the beans will steam instead of roast, and you’ll end up with sad, limp vegetables. 425°F is the sweet spot. Give your oven a good 15 minutes to get fully hot before the beans go in.
Step 2: Pat the green beans completely dry. This is the step most people skip, and it’s a game-changer. After you wash them, grab a clean kitchen towel (or paper towels) and dry them really well. Any moisture left on the beans will turn into steam in the oven, and steam is the enemy of crispiness. You want them bone-dry so the olive oil clings and the heat can work its magic.
Step 3: Toss everything together right on the baking sheet. Here’s my lazy trick: instead of dirtying a bowl, I just pile the dried green beans onto my sheet pan, drizzle on the olive oil, sprinkle the minced garlic, salt, and pepper, and then use my hands to toss it all together. It takes about 30 seconds, and you get to feel that every bean is evenly coated. Plus, less cleanup—win-win.
Step 4: Spread them in a single layer. This is crucial. If the beans are piled on top of each other, they’ll steam and get mushy. Give them space. If your baking sheet is too small, use two sheets. You want each bean to have its own little spot to get hot and crispy. I usually do a full pound on one standard half-sheet pan, and it’s just right.
Step 5: Roast for 15–20 minutes, stirring halfway. Set a timer for 10 minutes, then pull the pan out and give the beans a good stir with a spatula. This helps them cook evenly. After that, keep an eye on them. I start checking at the 15-minute mark. You’re looking for the edges to be browned and blistered, and the beans to be tender but still have a little bite. If you like them extra crispy, let them go the full 20 minutes.
Step 6: Serve immediately. This is important: roasted green beans are at their best straight out of the oven. They’ll continue to soften as they cool, so don’t let them sit around. I usually transfer them to a serving platter right away so they stop cooking. If you’re making them ahead for a big meal, just reheat them quickly in a hot oven (see my storage tips below).
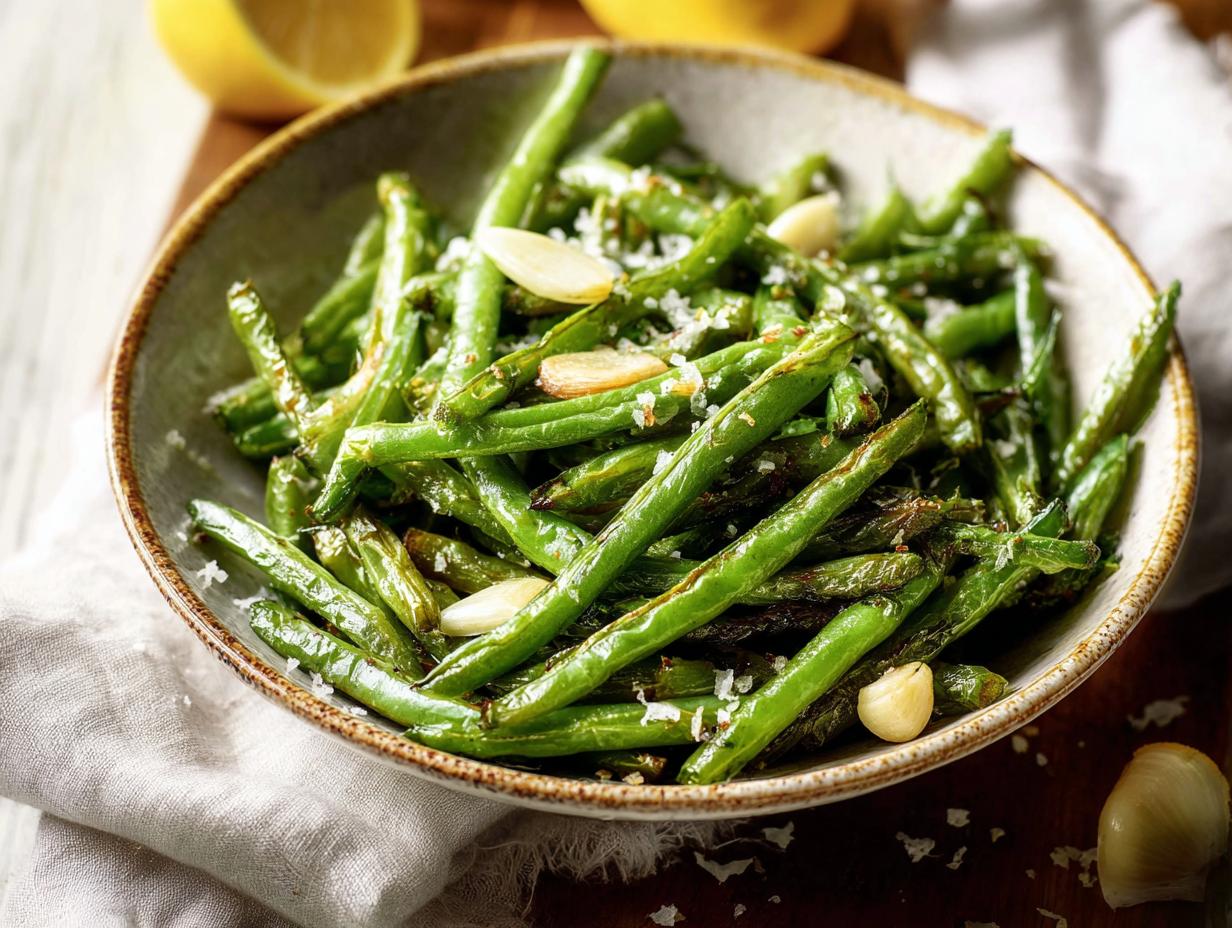
How to Trim Green Beans Quickly
I used to snap off each stem end one by one, and it drove me crazy. Then a friend showed me this trick: just line up a handful of beans on a cutting board, all facing the same way, and slice off the stem ends with one clean knife cut. Boom—done in seconds. No more fiddling.
Tips for the Best Roasted Green Beans
Alright, you’ve got the basic method down. Now let me share the non-negotiable rules I’ve learned the hard way. These are the little things that separate the “okay” batches from the “I can’t stop eating these straight off the pan” batches.
First, do not use wet beans. I know, I sound like a broken record, but it’s that important. After you wash them, grab a clean kitchen towel and pat them completely dry. You want them to feel almost squeaky under your fingers. Any lingering moisture will turn into steam in that hot oven, and steam is the sworn enemy of crispy, blistered edges. Dry beans are happy beans.
Second, do not skip the high heat. 425°F isn’t just a suggestion—it’s the target. I once tried to rush a batch at 375°F because I was short on time, and it was a total flop. The beans just sat there and sweated instead of roasting. You need that aggressive heat to caramelize the outsides quickly while keeping the insides tender and snappy. Trust me on this one.
Third, do not crowd the pan. This is probably the most common mistake I see. If the beans are piled on top of each other, they’ll steam instead of roast. Give them space. Every bean wants its own little spot on the hot surface. If your baking sheet looks too full, just grab a second one. It takes an extra minute to wash, but it’s worth it for that perfect texture.
And finally, taste one at the 15-minute mark. Ovens are all a little different, and so are our preferences. I like mine with deep brown blisters and a tender bite. You might like yours a little snappier or a little softer. Pull one out, let it cool for a second, and taste it. That’s the only way to know for sure when they’re done for you.
Variations for Roasted Green Beans
Once you’ve got the basic method down, the fun really begins. I love playing around with different flavors depending on what I’m serving or just what I’m craving that week. Here are three of my favorite ways to switch things up—each one takes about 30 seconds of extra effort.
Lemon and Garlic: After the beans come out of the oven, zest a whole lemon right over the hot pan and squeeze on a generous splash of fresh lemon juice. That bright, citrusy pop completely transforms the dish—I make this version at least twice a month. For more lemon garlic green bean inspiration, check out this recipe.
Spicy Parmesan: About 5 minutes before the beans are done, pull the pan out and sprinkle on a pinch of red pepper flakes and a handful of finely grated Parmesan cheese, then return it to the oven to finish roasting. The cheese gets all crispy and golden, and the heat creeps up on you in the best way.
Toasted Almond Crunch: While the beans roast, toast a small handful of sliced almonds in a dry skillet over medium heat until they’re fragrant and lightly browned—about 2 minutes. Toss them with the hot beans right before serving for the most satisfying little crunch in every bite.
What to Serve with Roasted Green Beans
This little recipe is a total team player. It’s so simple, but it honestly makes any main dish feel like a complete meal. Here are my favorite ways to pair it up for dinner.
My absolute number one pairing is a simple roasted chicken. I’ll throw a chicken in the oven at the same time as the beans, and by the time everything’s done, the beans have soaked up all those savory chicken juices. It’s a one-pan situation that feels like Sunday dinner, but with almost no cleanup. For more herb roasted chicken ideas, explore this recipe.
For a fancier night in, I love serving these beans with a grilled steak. The high-heat char on the beans matches the crust on the steak perfectly, and the garlicky, crispy edges are the best friend to a rich, buttery ribeye. It feels like a steakhouse dinner, but way cozier.
And for a busy weeknight, baked salmon is my go-to. The bright, clean flavor of the green beans cuts right through the richness of the salmon. I’ll squeeze a little lemon over the whole plate, and I’ve got a 20-minute meal that looks like I actually tried.
Of course, you can’t forget the carbs. A big scoop of creamy mashed potatoes or a bed of fluffy rice is the perfect way to catch all those little garlicky bits and olive oil drippings. It turns a simple side into a hearty, feel-good meal that’ll have everyone going back for seconds.
Frequently Asked Questions about Roasted Green Beans
Can I use frozen green beans? Yes, you absolutely can—I’ve done it myself when the fresh ones aren’t looking so great. The trick is do not thaw them first. Just toss them straight from the freezer onto the baking sheet with your oil and seasonings. You’ll need to add about 5 to 7 minutes to the roasting time, and be warned: they won’t get quite as crispy as fresh beans. They’ll still be good, just a little softer around the edges.
How do I reheat leftovers? I get asked this all the time, and my answer is always the same: skip the microwave. Please. It turns them into sad, rubbery things. Instead, spread them on a baking sheet and pop them into a 400°F oven for about 5 minutes. They’ll crisp right back up and taste almost as good as fresh. If you’re in a hurry, a hot skillet on the stove works too—just a minute or two, tossing constantly.
Can I add other vegetables? Oh, absolutely—this is where you can get creative. I love tossing in a handful of halved cherry tomatoes or some sliced bell peppers right on the same pan. Just keep in mind that different veggies cook at different speeds. You might need to adjust the roasting time or add the quicker-cooking ones partway through. A little trial and error is part of the fun, honestly.
Storage and Reheating Roasted Green Beans
If you happen to have any leftovers—which, honestly, is rare in my house because I usually eat them straight off the pan like a heathen—you’ll want to store them the right way. Just scoop them into an airtight container and pop them in the fridge. They’ll stay good for up to 3 days. That’s the easy part.
Now, reheating is where most people go wrong, and I’m here to save you from a sad, soggy situation. Please, for the love of all that is crispy, do not use the microwave. I know it’s tempting, but it will ruin all that beautiful blistered texture you worked so hard for. Instead, spread them out on a baking sheet and pop them into a 400°F oven for about 5 to 7 minutes. They’ll warm through and get some of that roasted goodness back. Just a heads-up: they won’t be quite as snappy as the first time around. They’ll be a little softer, but still totally delicious. A hot skillet on the stove works great too if you’re in a hurry—just a minute or two, tossing constantly.
Nutritional Information
Alright, let’s talk about the numbers. I always feel a little weird putting exact nutrition facts on a recipe because, honestly, they’re never perfect. The values I’ve listed above—like 90 calories per serving—are just estimates based on standard ingredients and serving sizes. The real numbers will change depending on the exact brand of olive oil you use, how big your green beans are, even the specific salt you grab from the pantry. So please take all of that as a helpful guide, not a hard-and-fast rule. If you’re tracking closely, plug your own ingredients into your favorite calculator. But for a simple, healthy side dish that’s naturally vegan and gluten-free? You really can’t go wrong.
Your Turn
Now it’s your turn to make these—drop a comment below and let me know how they turned out, and please give them a star rating while you’re at it. If you snap a photo of your gorgeous roasted green beans, tag me on social media so I can cheer you on!
Print
Roasted Green Beans with 5 Effortless Ingredients
- Total Time: 25 minutes
- Yield: 4 servings 1x
- Diet: Vegan
Description
Crispy roasted green beans seasoned with garlic and olive oil. A simple side dish for any meal.
Ingredients
- 1 pound fresh green beans, trimmed
- 2 tablespoons olive oil
- 3 cloves garlic, minced
- 1/2 teaspoon salt
- 1/4 teaspoon black pepper
Instructions
- Preheat your oven to 425 degrees F (220 degrees C).
- Toss green beans with olive oil, garlic, salt, and pepper on a baking sheet.
- Spread them in a single layer.
- Roast for 15 to 20 minutes, stirring halfway through, until tender and lightly browned.
- Serve immediately.
Notes
- Adjust roasting time based on your preferred level of crispness.
- Use fresh green beans for best results.
- Prep Time: 5 minutes
- Cook Time: 20 minutes
- Category: Side Dish
- Method: Roasting
- Cuisine: American
Nutrition
- Serving Size: 1 serving (about 1 cup)
- Calories: 90
- Sugar: 4 g
- Sodium: 300 mg
- Fat: 7 g
- Saturated Fat: 1 g
- Unsaturated Fat: 6 g
- Trans Fat: 0 g
- Carbohydrates: 8 g
- Fiber: 3 g
- Protein: 2 g
- Cholesterol: 0 mg