
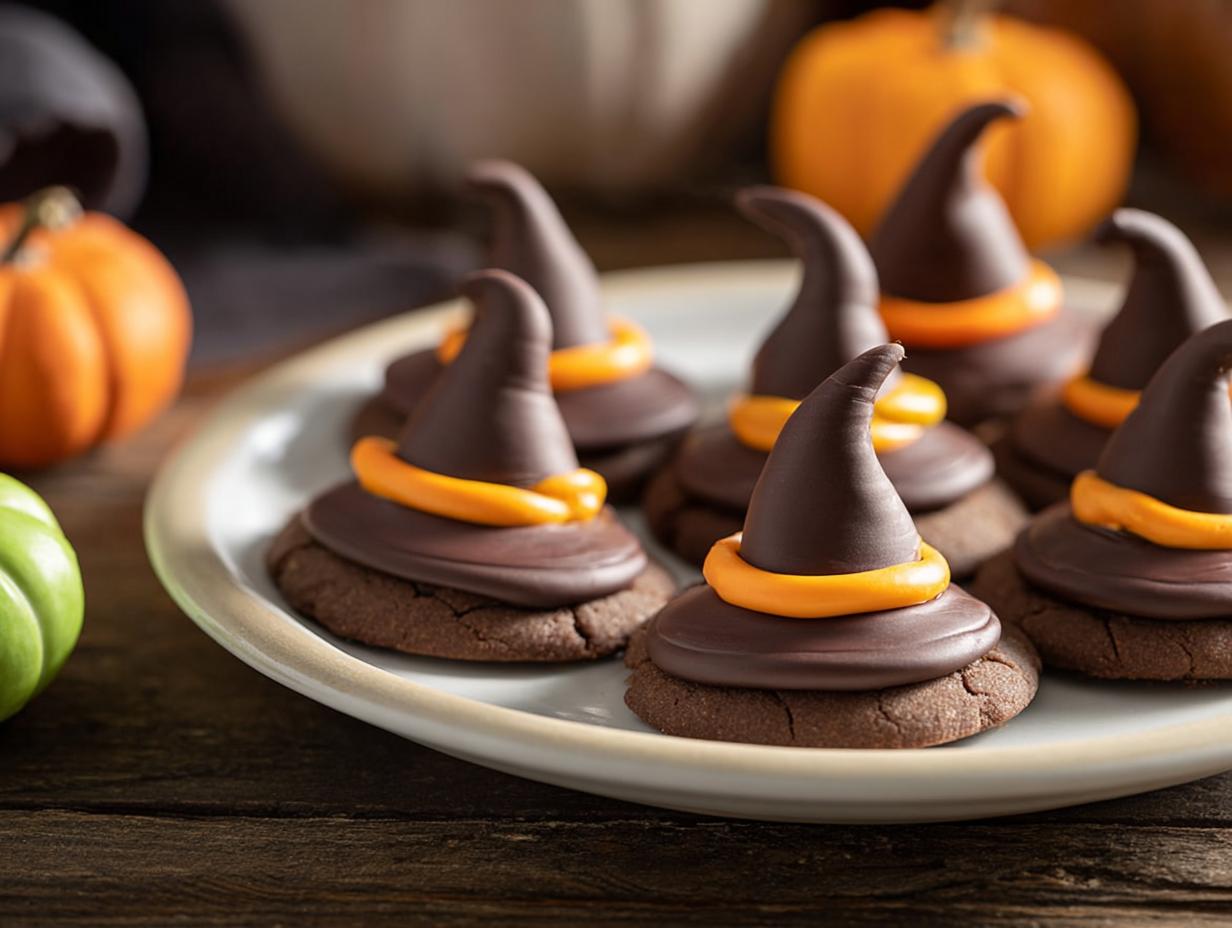
Last Halloween, I was scrambling for a treat to bring to my daughter’s school party. I had zero time for elaborate baking, so I remembered these witch hat cookies from a neighbor’s party years ago. They’re the perfect little trick-or-treat surprise—incredibly easy, completely no-bake, and honestly, kids love helping assemble them. They’ve become my go-to for any Halloween gathering because they look so festive but require almost no effort. Trust me, you’ll be amazed at how simple these are to whip up.
Why You Will Love These Witch Hat Cookies
These are honestly the easiest Halloween treats you’ll ever make, and that’s coming from someone who’s burned water before. No oven, no fuss, just 15 minutes of fun. Plus, they’re totally kid-friendly to assemble, which makes them perfect for last-minute parties or school celebrations.
- Ready in just 15 minutes
- No baking required—zero heat involved
- Only a few simple store-bought ingredients
- Fun for kids to help put together
- Perfect for Halloween parties or school treats
Key Ingredients for Your Witch Hat Cookies
Here’s the beautiful thing about these little treats—you only need four simple ingredients, and you can find them all at any grocery store. It’s what makes these witch hat cookies such a lifesaver when Halloween sneaks up on you. Each ingredient plays its own special part in making these look like adorable miniature hats, and honestly, there’s no complicated stuff here. Just grab your shopping list and let’s get into it!
Choosing the Right Cookies and Kisses
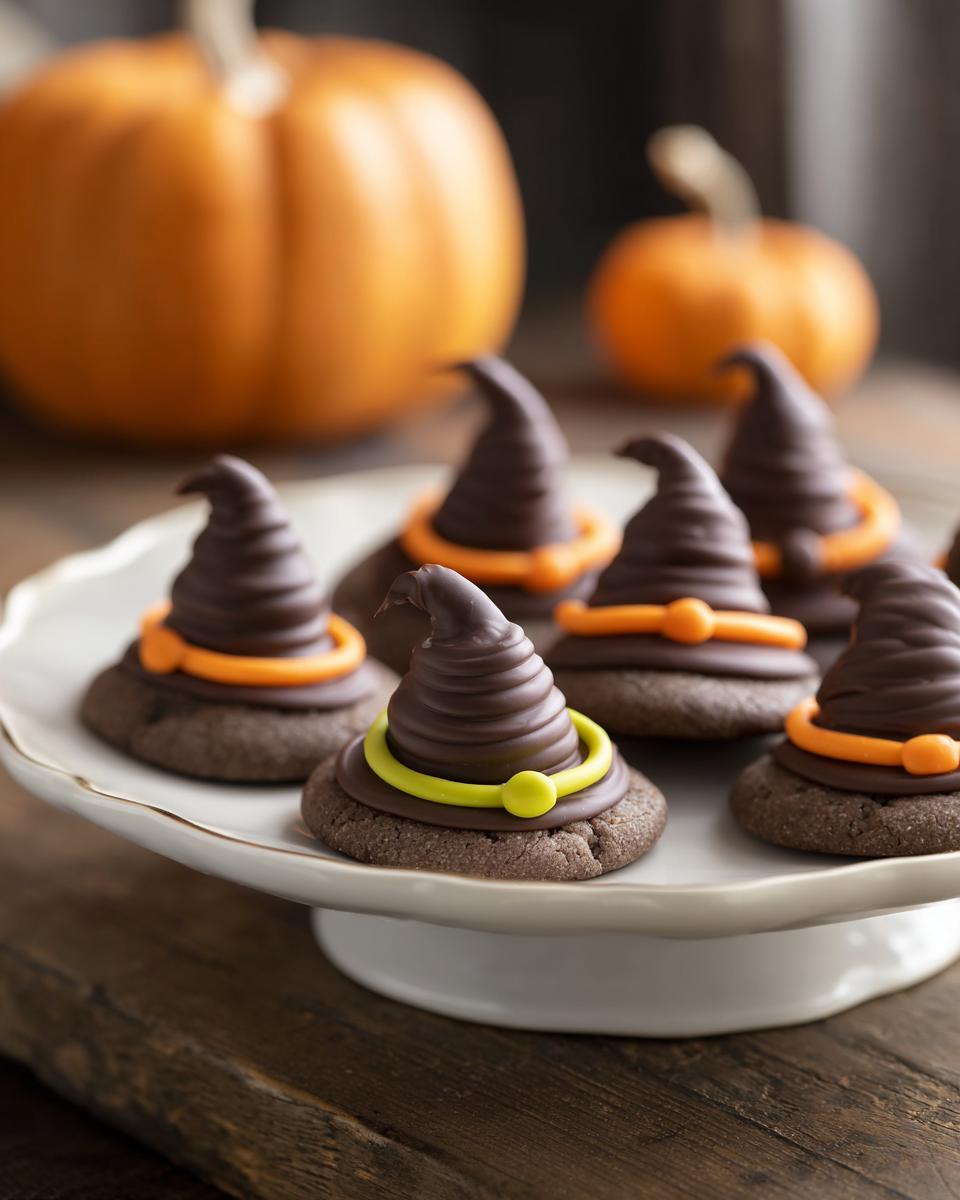
The fudge-striped cookies are your hat brim, so you want ones that are sturdy and not cracked. The chocolate kisses form that perfect pointy top. Make sure they’re unwrapped and at room temperature—cold kisses won’t stick as well to the frosting.
Frosting and Licorice Details
Orange frosting is your glue here, holding the whole hat together. And for that classic witch hat buckle, you’ll need black licorice strings. Cut them into tiny pieces, about a quarter-inch long, to create the buckle shape. White frosting works great too if you prefer a softer look.
Equipment You Will Need
You won’t need anything fancy here—just a few basics you probably already have in your kitchen. Trust me, that’s the beauty of these witch hat cookies.
- A small knife for cutting the licorice strings into little buckle pieces
- A cutting board to work on
- A serving tray or airtight container for letting them set
How to Make Witch Hat Cookies Step by Step
Alright, grab your little helpers and let’s get to work! These witch hat cookies honestly come together so fast that you’ll probably end up making a double batch before you realize it. The order matters more than you’d think—cookie base first, then the frosting, the kiss on top, and finally that cute little buckle. Follow these steps and you’ll have a tray of Halloween magic in about 15 minutes flat.
Step 1: Prepare the Cookie Base
Lay all your fudge-striped cookies on a clean work surface, flat side facing up. Make sure each one is stable and not cracked, because a broken brim makes for a sad witch hat. Trust me, you want a solid foundation here.
Step 2: Attach the Hat Peak
Here’s where the magic happens! Spread a small, pea-sized amount of orange frosting on the flat side of each cookie. Then press a chocolate kiss firmly but gently onto the frosting to create that perfect pointed hat top. Don’t go overboard with the frosting, though—you don’t want it squishing out the sides like a melted hat!
Step 3: Create the Buckle
This is what really sells the witch hat look. Cut your black licorice strings into small pieces, about a quarter-inch long. Then, using a tiny dab of frosting, attach one piece right at the base of the kiss where it meets the cookie. That little buckle detail makes these look like actual witch hats instead of just cookies with kisses on top.
Step 4: Let Them Set
This last step tests your patience, but it’s worth the wait. Place all the assembled witch hat cookies on a tray and let the frosting set for about 5 to 10 minutes. This keeps the kisses from sliding off, so don’t skip it. Then they’re ready to serve or store away for the big night.
Tips for Perfect Witch Hat Cookies
I’ve made these enough times to learn a few tricks the hard way. First off, use a light hand with that frosting—too much and it’ll squish out the sides when you press the kiss on, making a sticky mess. Also, these cookies are more fragile than you’d think, so handle them gently or you’ll end up with broken brims. And here’s the thing nobody tells you: these are best eaten within two days, stored in an airtight container at room temperature. After that, the cookies start getting soft and the magic fades a bit.
Fun Variations for Your Witch Hat Cookies
One of the best things about these witch hat cookies is how easy they are to customize. I love playing around with different looks each Halloween, and honestly, you can’t go wrong. Swap the orange frosting for green or purple to match your party theme, or try white chocolate kisses instead of milk chocolate for a sweeter touch. If you’re out of licorice strings, just add a small sprinkle or a dot of colored icing where the buckle goes. That’s it—you’ve got a whole new vibe!
Frequently Asked Questions
I get so many questions about these witch hat cookies whenever I share them, and honestly, I love that! People can’t believe something this cute is actually this simple. So I figured I’d answer the ones I hear most often. Whether you’re prepping for a big Halloween bash or just want a fun afternoon project with the kids, these should cover you. If you’ve got a question I didn’t address here, just leave it in the comments below and I’ll get back to you faster than a trick-or-treater grabs candy.
Can I make these witch hat cookies ahead of time?
You bet! You can assemble them a day in advance. Just store them in a single layer in an airtight container, and they’ll be ready when you are.
What if I cannot find fudge-striped cookies?
No worries! Any round, flat cookie works as the brim. Shortbread rounds or chocolate wafers make great stand-ins for the classic fudge-striped look.
How do I store leftover witch hat cookies?
Pop them in an airtight container at room temperature. Don’t refrigerate them, though—the moisture will make the cookies soft and take away all that nice crunch.
Can I use a different type of frosting?
Absolutely! White, cream cheese, or even chocolate frosting works great as the glue. Honestly, any frosting that’s thick enough to hold the kiss in place does the job.
Nutritional Information
Just a heads up—these numbers are estimates based on the brands I grabbed at the store. Each witch hat cookie clocks in at about 120 calories, 5g fat, 18g carbs, and 1g protein. If you need exact numbers, run your own ingredients through a calculator. For more baking tips, check out our blog.
Your Turn to Make These Witch Hat Cookies
Now it’s your turn to give these witch hat cookies a whirl! I promise you’ll love how simple they are. When you make them, let me know how they turn out by leaving a comment below or rating the recipe. And hey, if you snap a photo, tag me on social media—I absolutely love seeing your spooky creations!
Print
15 Min Witch Hat Cookies for a Spooky Treat
- Total Time: 15 minutes
- Yield: 24 cookies 1x
- Diet: Vegetarian
Description
Witch hat cookies are a fun Halloween treat. They look like small, pointy hats. You make them with cookies and chocolate.
Ingredients
- 24 fudge-striped cookies
- 24 chocolate kisses, unwrapped
- 1/2 cup orange frosting
- Black licorice strings
Instructions
- Place each cookie flat side up.
- Spread a small amount of orange frosting on the flat side of each cookie.
- Press a chocolate kiss onto the frosting to form the hat peak.
- Cut licorice strings into small pieces.
- Attach a licorice piece to the hat base using frosting to make a buckle.
- Let the frosting set before serving.
Notes
- Use white frosting if you prefer.
- Store in an airtight container.
- These cookies are best eaten within 2 days.
- Prep Time: 15 minutes
- Cook Time: 0 minutes
- Category: Dessert
- Method: No-Bake
- Cuisine: American
Nutrition
- Serving Size: 1 cookie
- Calories: 120
- Sugar: 12g
- Sodium: 80mg
- Fat: 5g
- Saturated Fat: 2g
- Unsaturated Fat: 3g
- Trans Fat: 0g
- Carbohydrates: 18g
- Fiber: 0g
- Protein: 1g
- Cholesterol: 0mg